
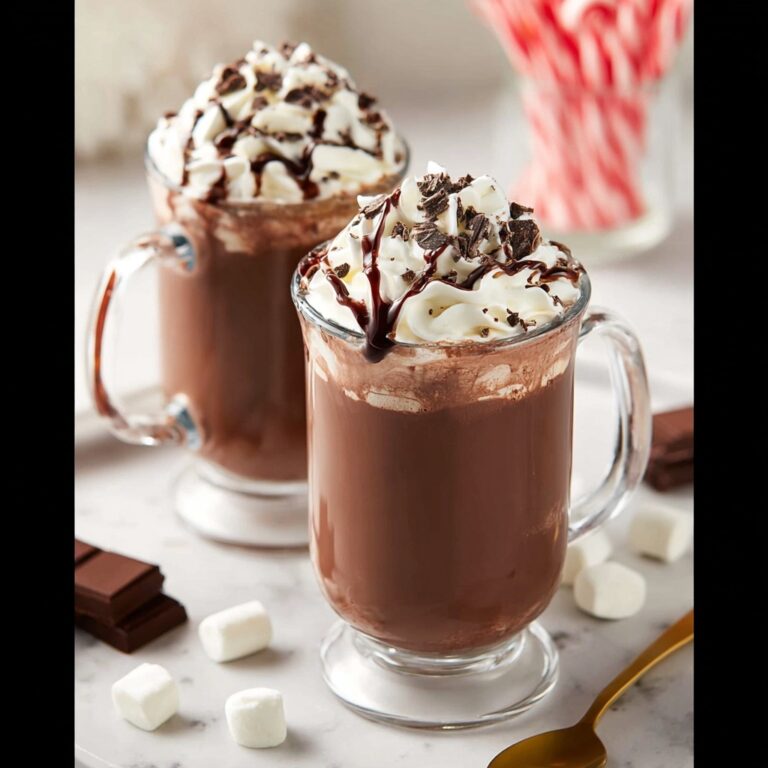
There is something truly magical about a dessert that brings the nostalgic joy of campfire s’mores together with the refreshing chill of snow ice cream. The S’mores Snow Ice Cream Recipe captures that playful essence in a bowl, blending fluffy snow with the rich creaminess of cocoa and milk, all studded with crunchy graham crackers and sweet mini marshmallows. It’s comfort and cool all in one, perfect for delighting both kids and adults on a chilly day or any time you want a whimsical treat. This recipe not only feels special but is incredibly easy to whip up, making it a go-to for spontaneous fun in the kitchen or outside in the snow.
Ingredients You’ll Need
Gathering simple, familiar ingredients is part of the charm of this dessert. Each item plays a crucial role, from creating the silky base to adding bursts of texture and flavor that make this S’mores Snow Ice Cream Recipe so irresistible.
- 4-5 cups clean snow: The star ingredient providing the light, airy texture that mimics classic ice cream but with a wintry twist.
- 1 cup milk: Adds creaminess and helps melt the cocoa and sugar smoothly into the snow.
- 1/4 cup sugar: Sweetens the mixture just right to balance the cocoa and marshmallows.
- 1 teaspoon vanilla extract: Brings a warm, aromatic depth that makes every bite feel cozy.
- 2 teaspoons cocoa powder: Gives the base its rich chocolate flavor, essential for that s’mores vibe.
- 1/2-1 cup mini marshmallows: These chewy sweet bursts recreate the gooeyness of roasted marshmallows.
- 2-3 graham crackers: Crumbled for crunch and that distinct honeyed flavor that’s classic to s’mores.
How to Make S’mores Snow Ice Cream Recipe
Step 1: Mix the Base
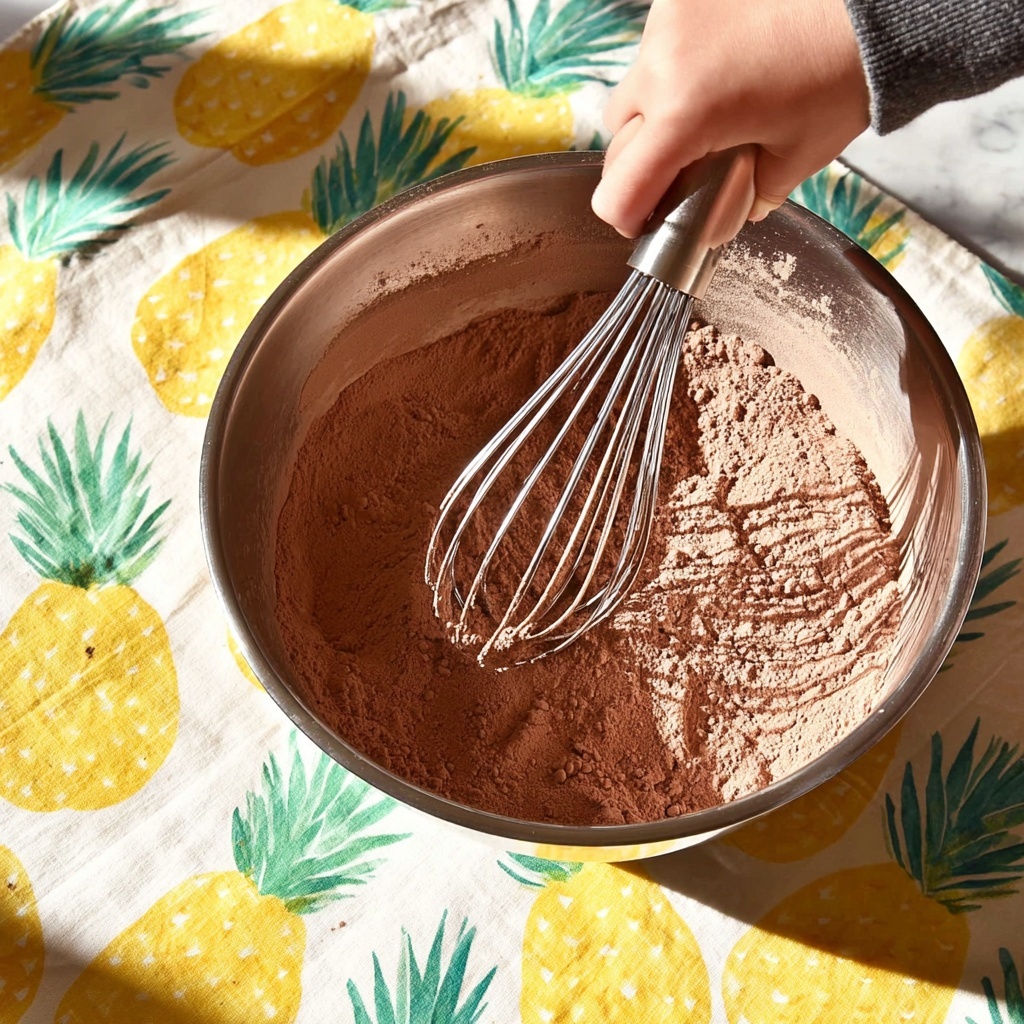
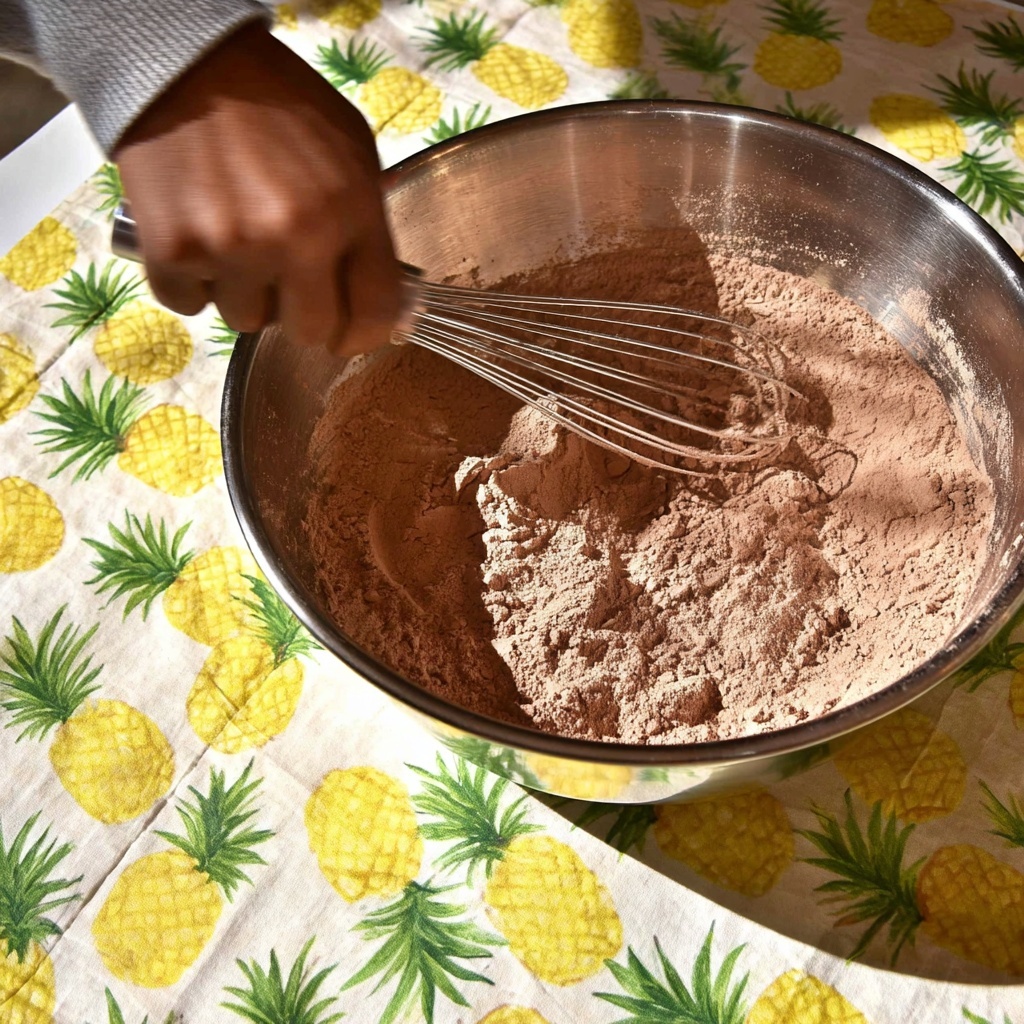
Start by combining the milk, sugar, vanilla extract, and cocoa powder in a large mixing bowl. Stir well until the sugar is mostly dissolved and the cocoa is evenly distributed, creating a rich chocolatey liquid that will soon transform the snow into dreamy ice cream.
Step 2: Add the Snow
Gradually fold in about 4 cups of your clean, fresh snow. Keep mixing gently as you add more snow until the texture feels just right—light, fluffy, and scoopable but still creamy. This step is all about achieving that perfect balance between icy and indulgent.
Step 3: Fold in the Marshmallows and Graham Crackers
Once your base is ready, stir in the mini marshmallows and crushed graham crackers. These bring in fun textures and those unmistakable s’mores flavors. Cover the bowl and pop it in the freezer for 30 to 40 minutes, or outside if the temperatures are below freezing. This short chill firms it up slightly while keeping everything soft and scoopable.
Step 4: Scoop and Enjoy
After chilling, scoop your s’mores snow ice cream into bowls or cups right away. The melt-in-your-mouth cold combined with the mix of textures and flavors is pure bliss, a dessert that’s as fun to eat as it is to make!
How to Serve S’mores Snow Ice Cream Recipe
Garnishes
To elevate your presentation, sprinkle some extra crushed graham crackers or a handful of mini marshmallows on top. A drizzle of chocolate syrup or a few chocolate chips can also add a luscious finish that guests will love seeing and tasting.
Side Dishes
A warm mug of rich hot cocoa complements the chilly sweetness perfectly, creating a contrast between warm and cold sensations that will have you craving more. Fresh fruit like strawberries or bananas can also freshen the palate and add a splash of natural sweetness.
Creative Ways to Present
Try serving the ice cream in hollowed-out chocolate cups or atop a chunk of giant graham cracker “plate” for an extra festive touch. You can even layer the S’mores Snow Ice Cream Recipe with rich chocolate fudge in a clear glass to turn this into a captivating parfait.
Make Ahead and Storage
Storing Leftovers
Because this treat is made with actual snow, it’s best enjoyed fresh. If you do have leftovers, keep them in an airtight container in the freezer to keep them as icy and flavorful as possible, although the texture might change slightly.
Freezing
If you want to prepare the mix ahead, you can freeze the milk, cocoa, sugar, and vanilla blend in advance. When ready to serve, just fold in fresh snow and the mix-ins right before chilling briefly to get the perfect creamy texture.
Reheating
Reheating isn’t recommended for this ice cream. It’s a frozen treat best enjoyed cold, so rather than warming it up, try stirring leftovers to break up any icy clumps before serving again.
FAQs
Can I use powdered milk instead of regular milk?
You can, but fresh milk provides the best creaminess and flavor. Powdered milk may affect the texture slightly, making it less smooth.
What if I don’t have fresh snow?
If fresh clean snow isn’t available, finely crushed ice can work, but the texture won’t be quite as fluffy and soft on the tongue.
Can I make this recipe vegan?
Absolutely! Use a plant-based milk like almond or oat milk, and substitute the marshmallows with vegan versions that do not contain gelatin.
How long will this dessert last?
Because of the snow base, it’s best eaten within a day. Leftovers should be frozen, but texture changes can happen.
Can I add chocolate chips or nuts?
Yes, adding mini chocolate chips or finely chopped nuts can add extra texture and flavor to make the S’mores Snow Ice Cream Recipe even more exciting.
Final Thoughts
There is a special kind of joy that comes from making and sharing a dessert like this S’mores Snow Ice Cream Recipe. It’s nostalgic, refreshing, and satisfyingly fun to create with friends or family. Whether it’s a snowy day tradition or a whimsical treat for any occasion, this recipe never fails to bring smiles and sweet memories. Give it a try and see how easily you can turn simple snow into your new favorite dessert sensation!
Print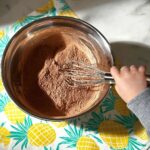
S’mores Snow Ice Cream Recipe
- Prep Time: 40 minutes
- Cook Time: 0 minutes
- Total Time: 40 minutes
- Yield: 4 servings
- Category: Dessert
- Method: No-Cook
- Cuisine: American
Description
This S’mores Snow Ice Cream is a delightful and refreshing no-cook dessert perfect for winter or snowy days. Combining the classic flavors of s’mores with a creamy, icy texture, this treat uses fresh snow, milk, cocoa, marshmallows, and graham crackers for a fun and nostalgic twist on traditional ice cream.
Ingredients
Base Ingredients
- 4–5 cups clean snow
- 1 cup milk
- 1/4 cup sugar
- 1 teaspoon vanilla extract
- 2 teaspoons cocoa powder
Mix-ins
- 1/2–1 cup mini marshmallows
- 2–3 graham crackers, broken into pieces
Instructions
- Prepare the Chocolate Base: In a large mixing bowl, combine the milk, sugar, vanilla extract, and cocoa powder. Stir well until the sugar and cocoa powder are fully dissolved, creating a smooth chocolate milk mixture.
- Add Snow: Gradually add 4 cups of clean, fresh snow into the chocolate milk mixture. Gently fold the snow into the mixture, adding more snow if needed to achieve your preferred icy consistency. Mix until fully combined but still fluffy.
- Mix in S’mores Ingredients: Fold in the mini marshmallows and broken graham cracker pieces evenly throughout the ice cream mixture. Cover the bowl and place it in the freezer, or outdoors if temperatures are below freezing, for 30-40 minutes to allow the flavors to meld and the texture to settle.
- Serve: Scoop the chilled snow ice cream into bowls and serve immediately for a cool, sweet treat with the nostalgic flavors of s’mores.
Notes
- Use only clean, fresh snow to ensure safety and avoid contaminants.
- The amount of snow added can be adjusted to achieve your desired ice cream consistency — add more for a thicker texture.
- You can substitute mini marshmallows with chopped regular marshmallows if preferred.
- For a richer flavor, use whole milk or add a splash of cream.
- Best consumed shortly after freezing as the snow ice cream may melt quickly indoors.


