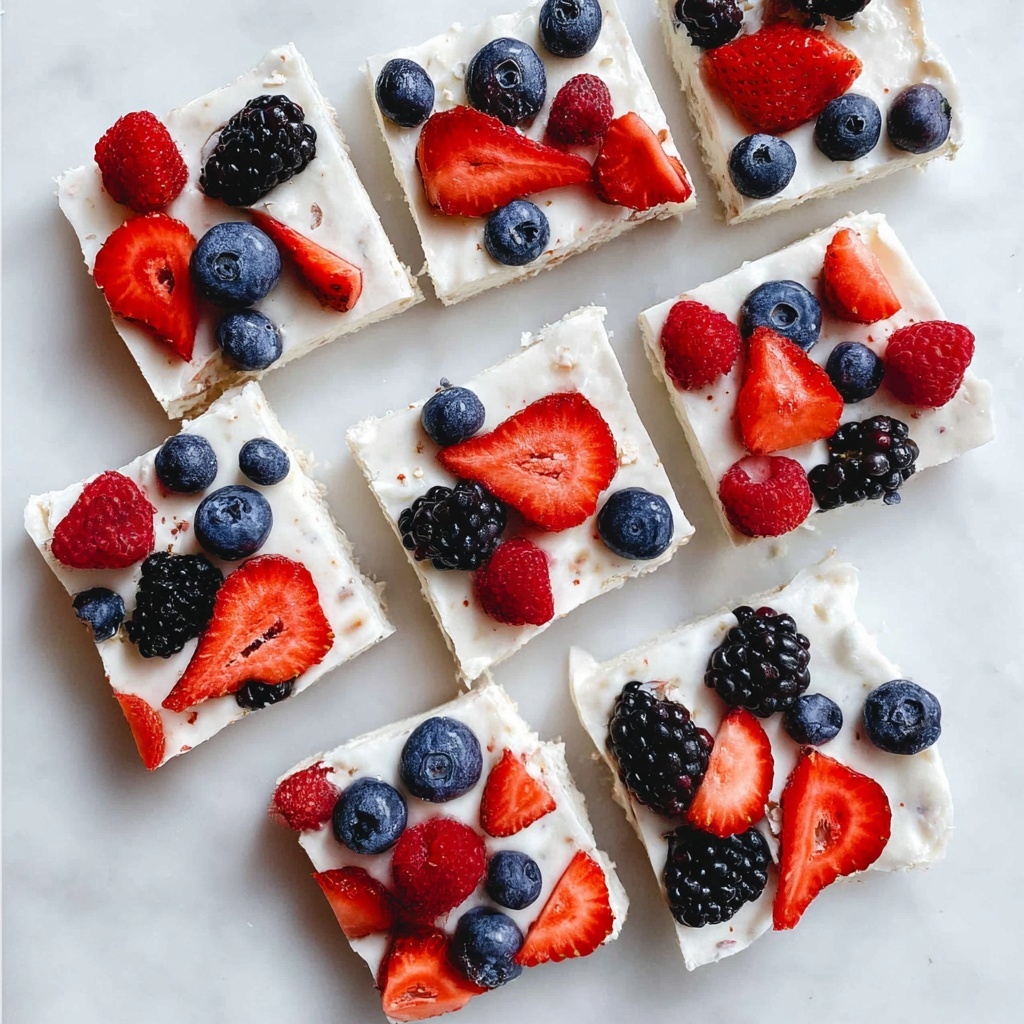
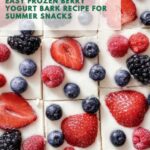
If you’re looking for a refreshing, healthy, and absolutely delightful treat to satisfy your snack cravings, you have to try this Berry Yogurt Bark Recipe. It’s like eating a frozen canvas sprinkled with vibrant, juicy berries that deliver pops of sweetness and tang in every bite. This simple dessert is not just visually stunning but also packed with creamy, fresh flavors and a wonderful chilling crunch that feels like a little celebration for your taste buds. Whether it’s for a quick morning boost, an afternoon pick-me-up, or a guilt-free dessert, this berry-laden frozen bark is a total winner.
Ingredients You’ll Need
This Berry Yogurt Bark Recipe is wonderfully straightforward, relying on just a handful of fresh, quality ingredients. Each one plays a crucial role in creating the perfect balance of creaminess, sweetness, and natural berry tartness that makes the final bark irresistible.
- 1 1/2 cups full fat vanilla yogurt: Provides rich creaminess and a touch of sweetness that forms the perfect yogurt base.
- 1/2 cup sliced fresh strawberries: Adds juicy bursts of sweetness and a lovely red hue that brightens every morsel.
- 1/4 cup fresh blueberries: Introduces a slightly tart pop and deep color contrast to the bark.
- 1/4 cup fresh blackberries: Offers a sweet and earthy flavor that complements the lighter berries beautifully.
- 1/4 cup fresh raspberries: Brings a delicate tartness with a tender texture to round out the berry medley.
How to Make Berry Yogurt Bark Recipe
Step 1: Prepare the Yogurt Layer
Start by spreading the full fat vanilla yogurt evenly across a rimmed sheet pan lined with parchment paper. Aim for a thin layer, about one-eighth of an inch thick, so the bark freezes quickly and has a satisfyingly crisp texture. This base is creamy, slightly sweet, and the perfect canvas for those fresh berries.
Step 2: Add the Berries
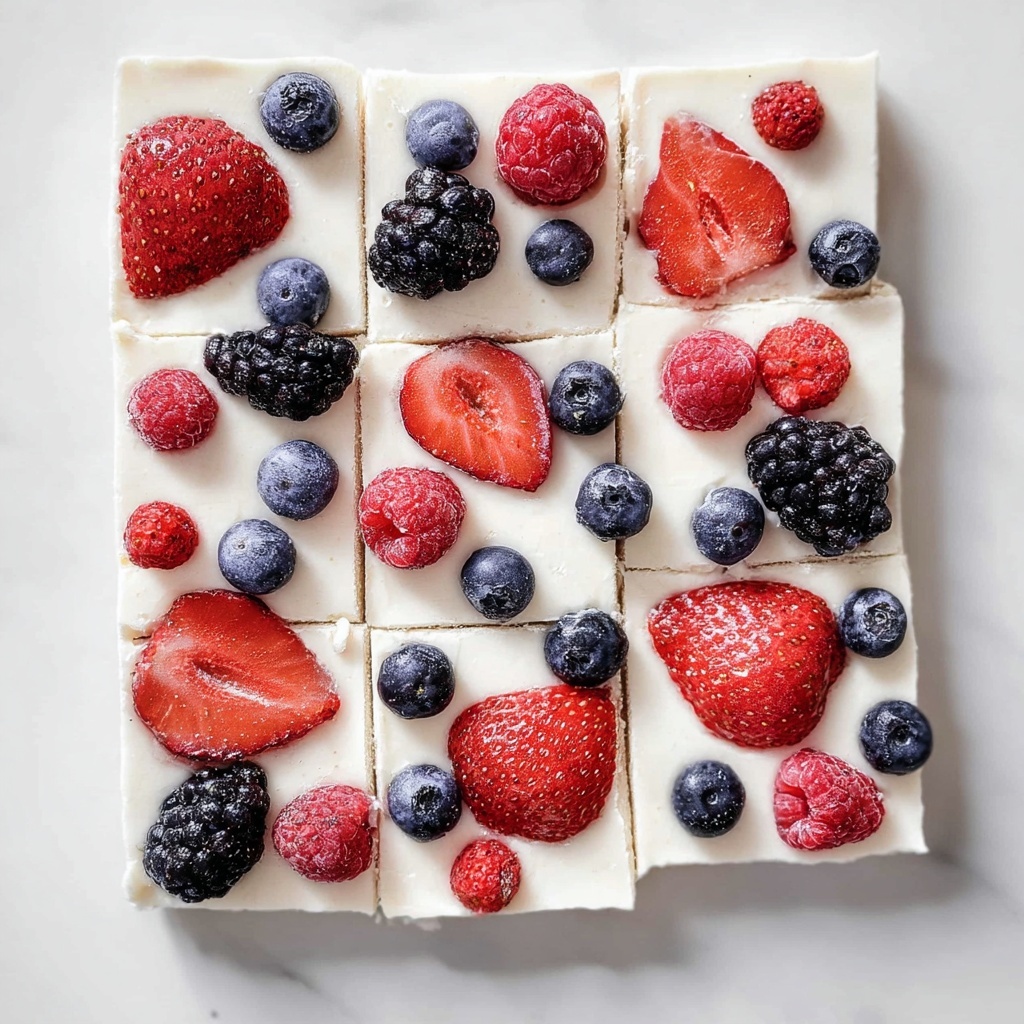
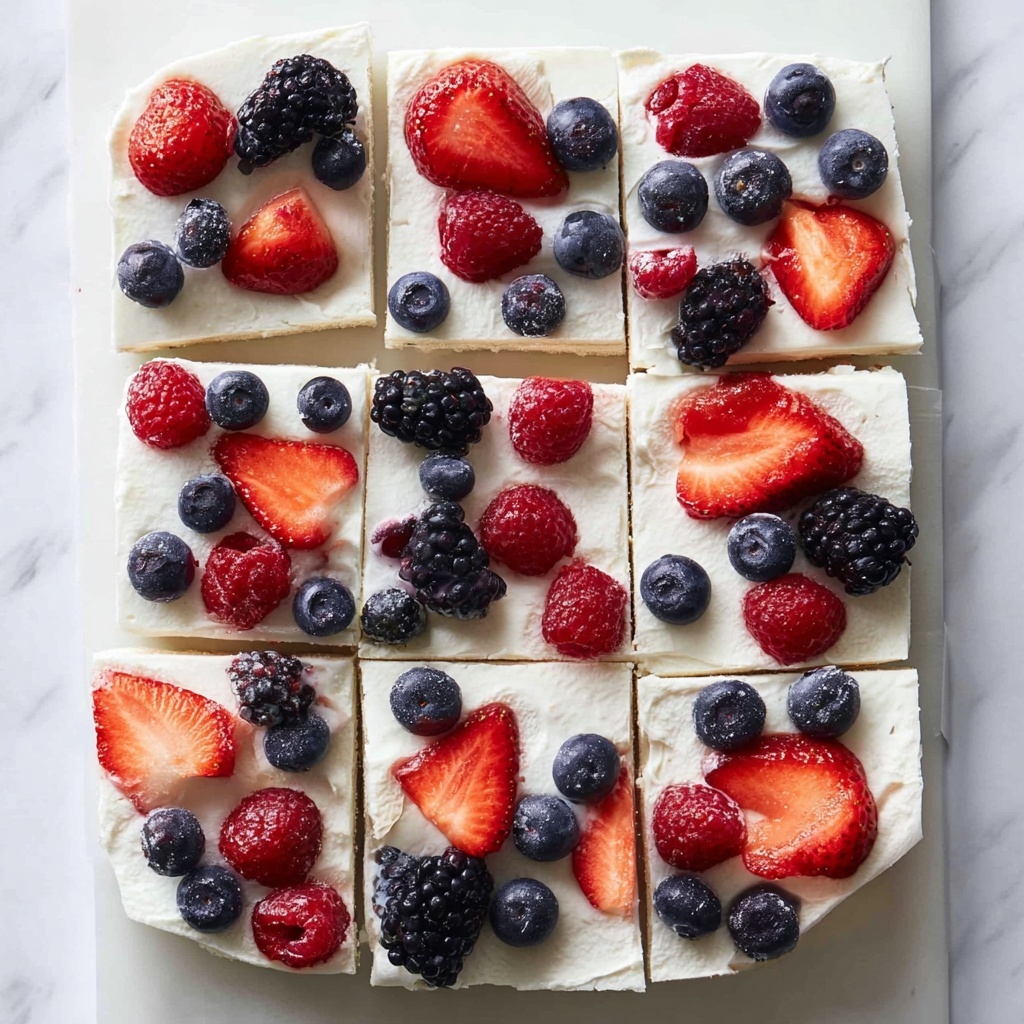
Scatter the sliced strawberries, blueberries, blackberries, and raspberries evenly across the yogurt layer. Don’t be shy here—be generous! The berries provide natural sweetness and vibrant color, and their juicy bursts contrast beautifully against the cool yogurt. Make sure they’re distributed in a way that each piece of bark ends up with a mix of berries.
Step 3: Freeze Until Firm
Place the pan into the freezer and chill for at least three hours, or until the yogurt is completely firm to the touch. This slow freeze ensures the yogurt won’t be icy but rather creamy and crisp at the same time.
Step 4: Break or Cut Into Pieces
When frozen solid, gently lift the parchment paper out of the pan and break the yogurt bark into rustic pieces, or slice it into neat squares with a sharp knife. This step is half the fun, as the irregular shapes make it feel homemade and inviting.
How to Serve Berry Yogurt Bark Recipe
Garnishes
To amp up the presentation and flavor, sprinkle some finely chopped nuts like pistachios or almonds right before freezing or add a drizzle of honey when serving. A few fresh mint leaves also make a beautiful and refreshing garnish that pairs wonderfully with the berries and yogurt.
Side Dishes
This Berry Yogurt Bark Recipe shines on its own but can be paired elegantly with light, fresh sides such as a crisp green salad, fresh fruit salad, or even alongside a scoop of granola-topped oats for a well-rounded breakfast or snack.
Creative Ways to Present
For a fun twist, consider layering the yogurt and berries in popsicle molds for handheld frozen treats. Alternatively, break the bark into pieces and serve it over smoothie bowls, adding texture and flavor. You could even package small portions in pretty jars or cellophane bags to gift to friends and family—they’ll love the thoughtful, homemade touch.
Make Ahead and Storage
Storing Leftovers
Simply store your leftover berry yogurt bark in an airtight container in the freezer. This keeps it fresh and crisp, ready whenever you crave a cool, fruity snack without any fuss.
Freezing
If you want to get ahead, you can prepare the entire Berry Yogurt Bark Recipe a few days in advance. Just freeze it as described, and it will maintain its texture and taste wonderfully for up to two weeks.
Reheating
This frozen treat is best enjoyed cold, so reheating isn’t recommended. Letting it sit a few minutes at room temperature before serving is perfect if you want to soften it slightly for easier bite-sized pieces.
FAQs
Can I use non-dairy yogurt for this recipe?
Absolutely! Coconut or almond milk-based yogurts work wonderfully and can add subtle, unique flavors while keeping the bark dairy-free.
What berries work best for the Berry Yogurt Bark Recipe?
The classic combo of strawberries, blueberries, blackberries, and raspberries is ideal, but feel free to experiment with what’s in season, like cherries or sliced kiwi for a tropical twist.
How thick should the yogurt layer be for freezing?
A thin layer around one-eighth of an inch ensures a crisp texture that freezes evenly and breaks apart beautifully.
Is this recipe kid-friendly?
Definitely! Kids love the colorful berries and creamy yogurt, and it’s a great way to sneak in some fruit for little ones who might be picky eaters.
Can I add sweeteners to the yogurt?
You can, but the vanilla yogurt usually has enough natural sweetness. If you prefer it sweeter, a small drizzle of honey or maple syrup works perfectly stirred into the yogurt before spreading.
Final Thoughts
This Berry Yogurt Bark Recipe is genuinely a little slice of frozen heaven that is easy to whip up anytime you want a fresh, wholesome treat. Its bright berries and creamy yogurt create such a joyful combination of flavor and texture that I promise you’ll find yourself coming back for more. It’s simple, healthy, and irresistibly delicious, so go ahead and make a batch—you won’t regret it!
Print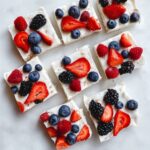
Berry Yogurt Bark Recipe
- Prep Time: 10 minutes
- Cook Time: 0 minutes
- Total Time: 3 hours 10 minutes
- Yield: 18 pieces
- Category: Dessert
- Method: No-Cook
- Cuisine: American
- Diet: Low Fat
Description
Berry Yogurt Bark is a refreshing, healthy snack that combines creamy full-fat vanilla yogurt with a mix of fresh strawberries, blueberries, blackberries, and raspberries. This no-bake, easy-to-make treat requires minimal prep and freezing time, resulting in a deliciously cool, fruity bark that’s perfect for hot days or anytime you crave a light dessert or snack.
Ingredients
Yogurt Base
- 1 1/2 cups full fat vanilla yogurt
Fresh Berries
- 1/2 cup sliced fresh strawberries
- 1/4 cup fresh blueberries
- 1/4 cup fresh blackberries
- 1/4 cup fresh raspberries
Instructions
- Prepare the Yogurt Layer: Spread the full-fat vanilla yogurt evenly onto a parchment paper-lined, rimmed sheet pan, creating a thin layer about 1/8-inch thick. Ensuring an even layer helps the bark freeze uniformly.
- Add the Berries: Distribute the fresh sliced strawberries, blueberries, blackberries, and raspberries evenly across the yogurt layer, pressing them gently so they adhere well.
- Freeze the Bark: Place the sheet pan in the freezer and freeze the yogurt bark for at least 3 hours or until it becomes firm and solid.
- Break into Pieces: Once fully frozen, remove the bark from the pan and parchment. Break it into irregular pieces or cut it into neat squares using a large, sharp knife for serving.
Notes
- Use full-fat yogurt for creaminess and better texture when frozen.
- Ensure the yogurt layer is thin to speed up freezing and to create a crisp bark.
- You can swap in other fresh berries depending on availability or preference.
- Store the bark in an airtight container in the freezer to keep it fresh.
- Allow to sit at room temperature for a few minutes before eating to soften slightly for easier biting.
