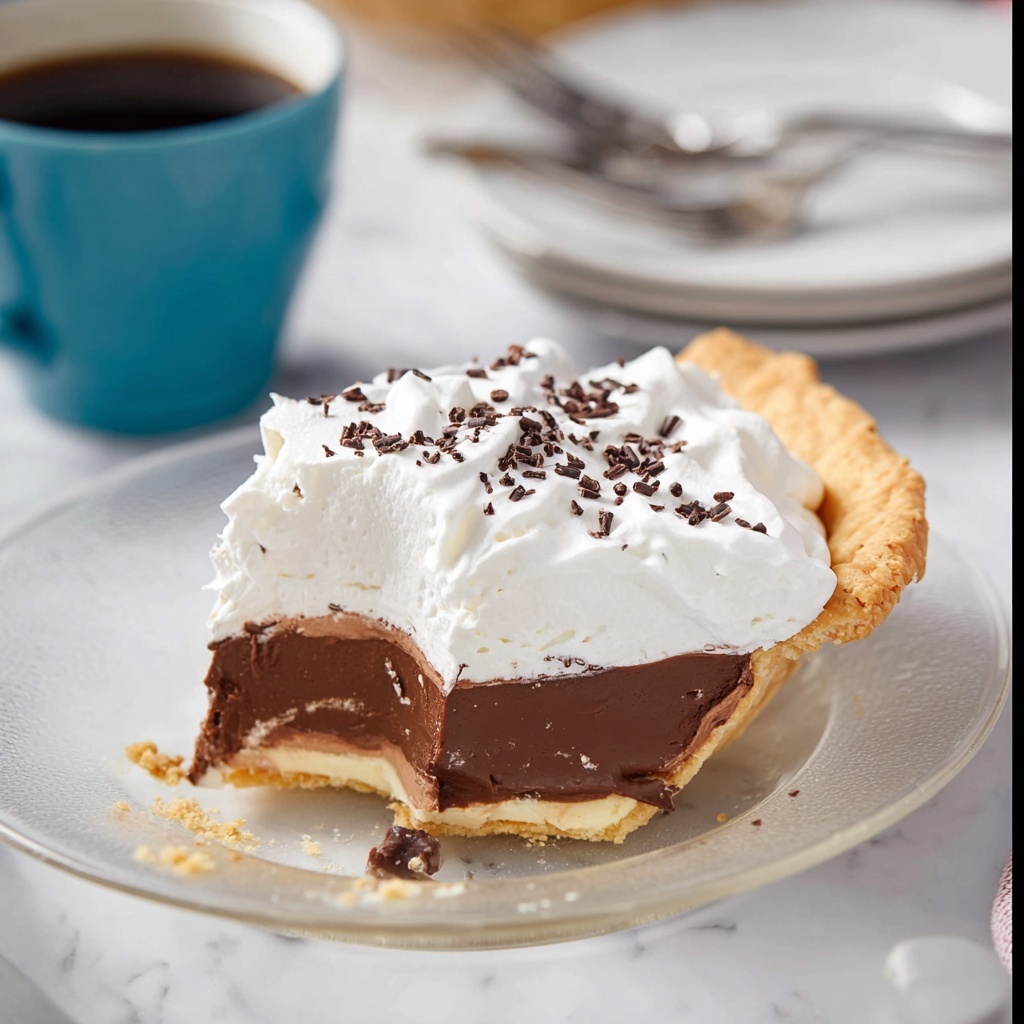
If you have a serious sweet tooth and adore the silky, decadent flavors of chocolate, this Chocolate Cream Pie Recipe is going to become your new go-to dessert. Imagine a buttery, flaky crust filled with a luxuriously smooth chocolate pudding that’s rich yet light enough to indulge again and again. Every spoonful melts effortlessly on your tongue, balanced perfectly with just the right hint of vanilla and buttery softness. It’s a classic treat that dazzles at family dinners, impresses guests, or simply brightens up an ordinary day in the most delightful way.
Ingredients You’ll Need
One of the best things about this recipe is how straightforward the ingredient list is – each item plays a crucial role in creating that perfect texture and flavor harmony you’ll love.
- Pie Crust: Use a prepared pie crust for convenience; it provides the perfect crisp, buttery base.
- Granulated Sugar (¾ cup): Sweetness that balances the richness of the chocolate without overpowering.
- Cornstarch (¼ cup): The magic thickener that gives the pudding its luscious, creamy texture.
- Salt (a pinch): Enhances flavor by bringing out the chocolate’s depth and balancing the sweetness.
- Egg Yolks (2): Adds richness and helps with a smooth, custardy consistency.
- Whole Milk (3 cups): Offers creaminess and a velvety mouthfeel, key to that indulgent finish.
- Semi-Sweet Chocolate (8 ounces, chopped): Use good quality chocolate to ensure a deep, satisfying chocolate flavor.
- Unsalted Butter (4 tablespoons): Adds silkiness and a subtle richness that rounds out the texture beautifully.
- Vanilla Extract (1 teaspoon): Lifts the chocolate notes and adds an inviting warmth.
- Whipped Cream (2 cups, optional): The light, airy finishing touch that makes this pie irresistibly inviting.
How to Make Chocolate Cream Pie Recipe
Step 1: Mix Your Base Ingredients
Start by whisking the cornstarch, sugar, and salt together in a saucepan. It’s essential to get these dry ingredients evenly combined before you add the egg yolks and milk. Slowly whisk in the egg yolks and milk until everything is seamlessly combined. Then, toss in your chopped chocolate—this will melt and give the pudding that signature rich cocoa goodness.
Step 2: Cook the Pudding Mixture
Shift the saucepan over medium heat and begin whisking constantly. This step is the key to avoiding lumps and getting that perfectly smooth pudding. Use a spatula to gently scrape around the edges of the pan where the pudding tends to thicken first—this helps it cook evenly and prevents burning.
Step 3: Thickening to Perfection
Continue cooking while whisking until the pudding thickens fully and you see large bubbles forming and popping across the surface; this usually takes about 8 minutes. Once thickened, immediately strain the pudding through a mesh sieve into a bowl. This extra step guarantees a super smooth texture without any lumps or thick bits.
Step 4: Enrich and Chill
Whisk the butter and vanilla extract into the hot pudding until it becomes fluffy and creamy. Pour this glorious chocolate filling into your prepared pie crust and smooth out the top. Let the pie cool briefly at room temperature before transferring it to the refrigerator to chill for at least 3 hours—better yet, overnight—for the flavors to fully develop and the filling to set beautifully.
Step 5: Add the Whipped Cream Topping
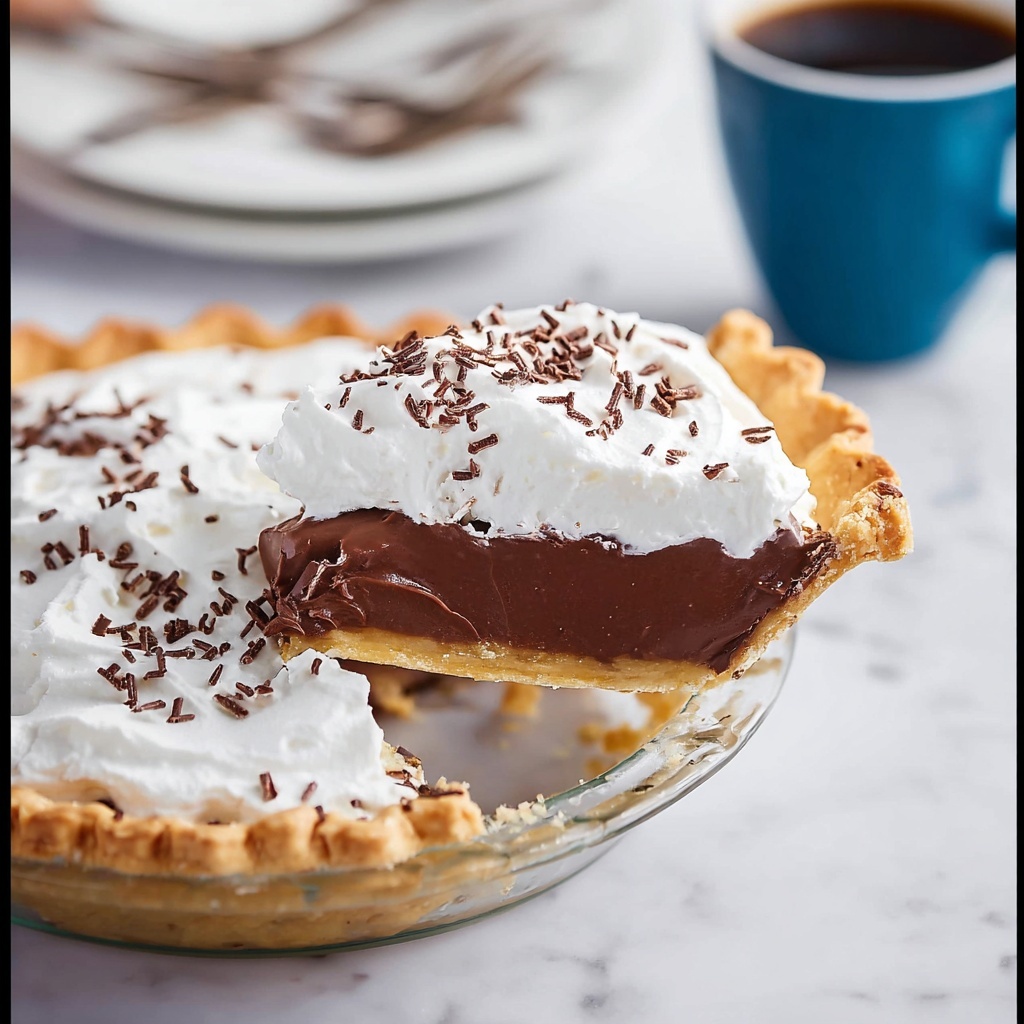
Once chilled and set, scoop the whipped cream on top, spreading it evenly with a spatula. This creamy topping provides a light contrast to the dense chocolate filling, making each bite perfectly balanced. For an extra touch of indulgence, sprinkle some chopped chocolate over the whipped cream.
How to Serve Chocolate Cream Pie Recipe
Garnishes
Simple garnishes like freshly whipped cream and additional chopped chocolate elevate the visual appeal and add delightful texture. For a bit of flair, consider dusting with cocoa powder or adding chocolate curls to give it that extra wow factor when you bring it to the table.
Side Dishes
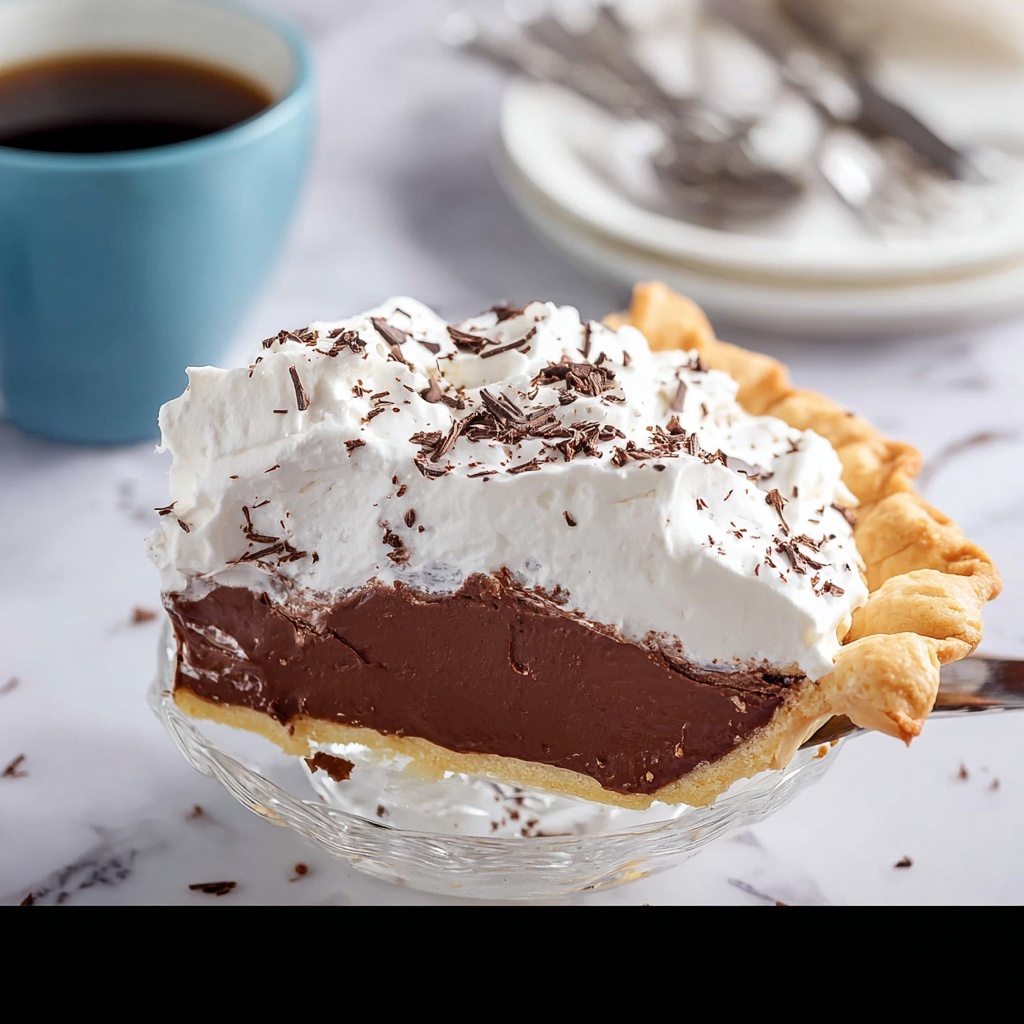
This pie pairs wonderfully with fresh berries, which add a bright freshness to the richness, or a dollop of lightly sweetened crème fraîche for subtle tanginess. A cup of strong coffee or rich espresso completes the experience perfectly, balancing the luscious chocolate.
Creative Ways to Present
If you want to put a fun spin on this classic, slice individual portions into elegant clear glasses layering with whipped cream and crushed cookies for a deconstructed Chocolate Cream Pie experience. Alternatively, serve mini tartlets using the same filling for a bite-sized treat at parties or gatherings.
Make Ahead and Storage
Storing Leftovers
Once assembled, store your Chocolate Cream Pie Recipe in the refrigerator, covered tightly with plastic wrap or a pie dome to keep the filling moist and prevent it from absorbing other fridge odors. It’s best enjoyed within 2 to 3 days for peak freshness.
Freezing
While the pie tastes best fresh, you can freeze it without the whipped cream topping by wrapping it carefully in plastic wrap and aluminum foil. Freeze for up to 1 month. When ready to enjoy, thaw overnight in the refrigerator and add fresh whipped cream before serving.
Reheating
This pie is best served chilled, so reheating isn’t recommended. Instead, let it sit out at room temperature for about 10-15 minutes before slicing for a softer, creamier bite.
FAQs
Can I make this pie gluten-free?
Yes! Simply substitute the prepared pie crust with a gluten-free version, and the rest of the recipe remains unchanged. This way, you won’t have to give up any of the deliciousness.
What kind of chocolate should I use?
Semi-sweet chocolate is recommended for a well-balanced flavor, but feel free to experiment with dark or even milk chocolate depending on your sweetness preference. Higher quality chocolate always improves the final taste.
Can I use a homemade pie crust?
Absolutely! A homemade pie crust can add an extra personal touch and flavor dimension. Just ensure it’s fully cooled before adding the chocolate pudding to avoid any sogginess.
Is whipped cream necessary?
While optional, the whipped cream topping adds a lovely lightness and a creamy contrast to the dense chocolate base. If you prefer, you can serve it without or substitute with a scoop of vanilla ice cream.
How long should I chill the pie?
Chilling for at least 3 hours is essential to let the pudding set properly. For the best texture and flavor, chilling overnight is ideal.
Final Thoughts
If you’re looking for a dessert that’s both comforting and impressive, you owe it to yourself to try this Chocolate Cream Pie Recipe. Its creamy texture and rich chocolate flavor strike the perfect balance, making every bite feel like a warm hug. Whether for a special occasion or a cozy night in, this pie will quickly become a beloved classic in your dessert lineup!
Print
Chocolate Cream Pie Recipe
- Prep Time: 10 minutes
- Cook Time: 8 minutes
- Total Time: 3 hours 18 minutes (including chilling time)
- Yield: 6 servings (6 slices)
- Category: Dessert
- Method: Stovetop
- Cuisine: American
Description
This rich and velvety Chocolate Cream Pie is a classic dessert that combines a smooth, homemade chocolate pudding filling with a flaky prepared pie crust. Carefully cooked on the stovetop to achieve the perfect creamy texture, it is then topped with luscious whipped cream and garnished with chopped chocolate for an indulgent finish. Ideal for special occasions or a decadent treat, this pie is simple to prepare and sure to satisfy any chocolate lover’s craving.
Ingredients
Pie Base
- 1 prepared pie crust
Chocolate Filling
- ¾ cup granulated sugar
- ¼ cup cornstarch
- 1 pinch salt
- 2 egg yolks
- 3 cups whole milk
- 8 ounces semi-sweet chocolate, chopped (or dark chocolate)
- 4 tablespoons unsalted butter
- 1 teaspoon vanilla extract
Toppings
- 2 cups whipped cream (optional)
- Additional chopped chocolate (for garnish)
Instructions
- Prepare the Pudding Mixture: In a medium saucepan, whisk together cornstarch, sugar, and salt until well combined. Gradually add the egg yolks and whole milk, whisking continuously until smooth. Stir in the chopped semi-sweet chocolate to the mixture.
- Cook the Pudding: Place the saucepan over medium heat. Cook the mixture, whisking constantly with a spatula, ensuring to scrape the edges of the pan to prevent lumps. Continue stirring until the pudding thickens significantly and large bubbles form and pop, about 8 minutes.
- Strain the Pudding: Remove the pan from heat and immediately pour the hot pudding through a fine mesh strainer into a bowl. Use a spatula to press through any thickened bits, resulting in an ultra-smooth texture.
- Add Butter and Vanilla: Whisk in the unsalted butter and vanilla extract to the hot pudding until fully incorporated and the mixture becomes fluffy and glossy.
- Assemble the Pie: Pour the warm chocolate pudding into the prepared pie crust, smoothing the surface evenly with a spatula. Let the pie cool to room temperature before refrigerating for at least 3 hours or overnight to set.
- Add Whipped Cream Topping: Just before serving, spread the whipped cream evenly over the chilled pie using a spatula. Garnish with additional chopped chocolate pieces for extra texture and decoration. Keep the pie chilled until ready to serve.
Notes
- For a richer pie, use dark chocolate with at least 60-70% cocoa content instead of semi-sweet.
- Ensure constant stirring when cooking the pudding to prevent burning or lumps.
- Chilling the pie overnight helps the filling set properly and enhances chocolate flavor.
- Use freshly whipped cream or high-quality store-bought whipped cream for best taste.
- To save time, use a store-bought pie crust, but a homemade crust can be substituted for extra flavor.

