If you’ve ever craved a sweet, velvety treat that’s both nostalgic and endlessly customizable, then this Homemade Milkshake Recipe is your new best friend. With just a few simple ingredients, you can whip up a creamy and dreamy shake that captures the essence of a classic diner favorite, right in your own kitchen. Whether you prefer the timeless charm of vanilla or the rich joy of chocolate, this recipe embraces versatility and ease, delivering pure happiness in every sip.
Ingredients You’ll Need
Crafting the perfect milkshake requires just a handful of ingredients, each playing a vital role in creating that luscious texture and balanced flavor that makes every sip a delight.
- Ice cream (1½ cups): The creamy base that defines your milkshake’s smooth texture and luscious taste; choose vanilla for a classic flavor or chocolate to satisfy a cocoa craving.
- Full-fat milk (¼ cup): Adds richness and helps blend the shake to the perfect creamy consistency without watering it down.
- Whipped topping: A fluffy, indulgent garnish that elevates your milkshake to treat status and adds a delightful creaminess on top.
- Sprinkles: For a fun burst of color and a little crunch, bringing playful excitement to every serving.
- Maraschino cherries or sliced strawberries: These fruity garnishes add a fresh, tangy contrast and a pop of color that makes your milkshake irresistible.
- Optional: Chocolate syrup (¼ cup): Perfect for chocolate lovers, this adds an extra layer of sweetness and depth if you want to turn your vanilla base into a decadent chocolate shake.
How to Make Homemade Milkshake Recipe
Step 1: Combine the Ingredients
Begin by adding your ice cream and milk into a blender. This combination is the heart of your milkshake, so using creamy vanilla or chocolate ice cream and rich milk is key. If you want to customize with a chocolate twist or fruity flair, add chocolate syrup or fresh fruit at this stage. It’s where all the magic begins.
Step 2: Blend Until Smooth
Blend everything together on high speed until the mixture is smooth, creamy, and perfectly blended. No more lumps or chunks, just an irresistibly silky texture that you can’t wait to dive into. This quick step is where your ingredients transform into that luscious milkshake experience.
Step 3: Pour It Up
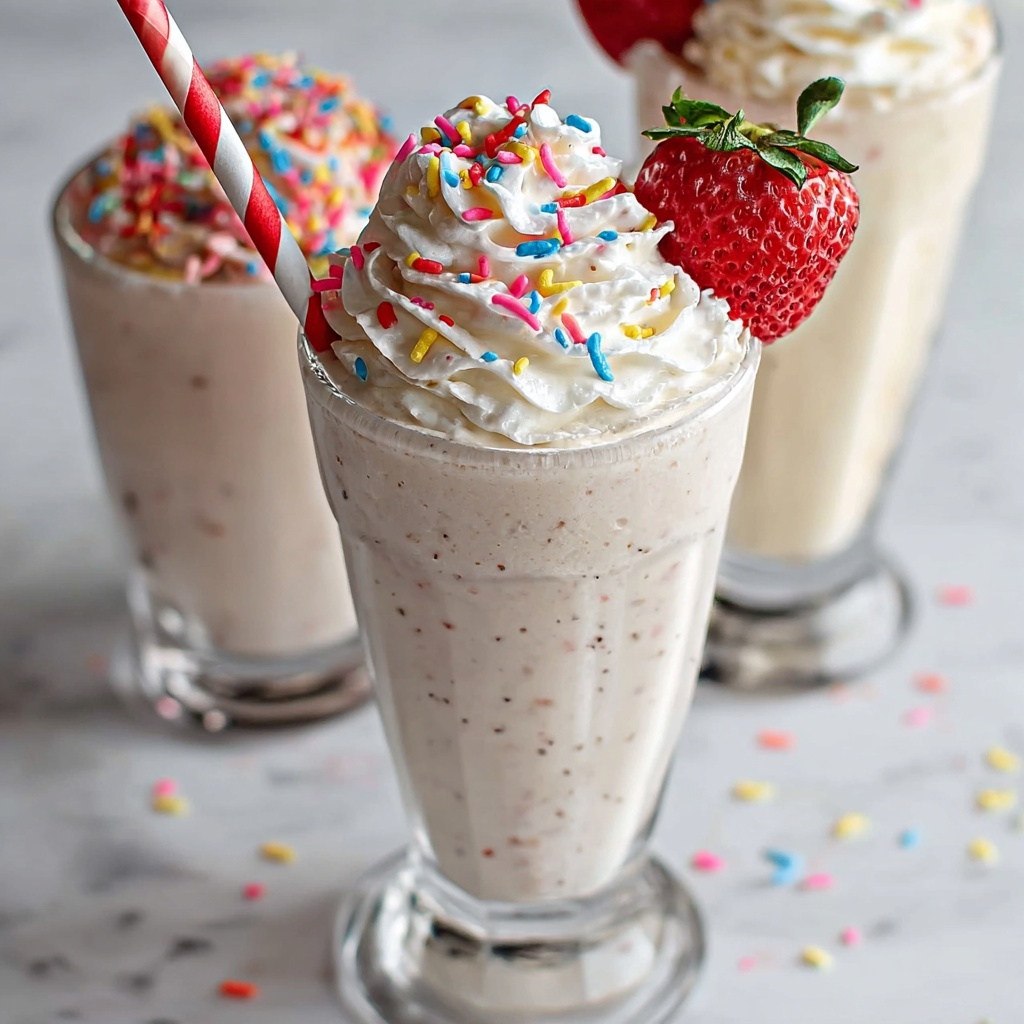
Carefully pour your milkshake into a tall glass. Seeing that thick, creamy shake fill the glass makes it feel like a special occasion, even if it’s just a weekday treat. The sight alone will make your mouth water.
Step 4: Add the Finishing Touches
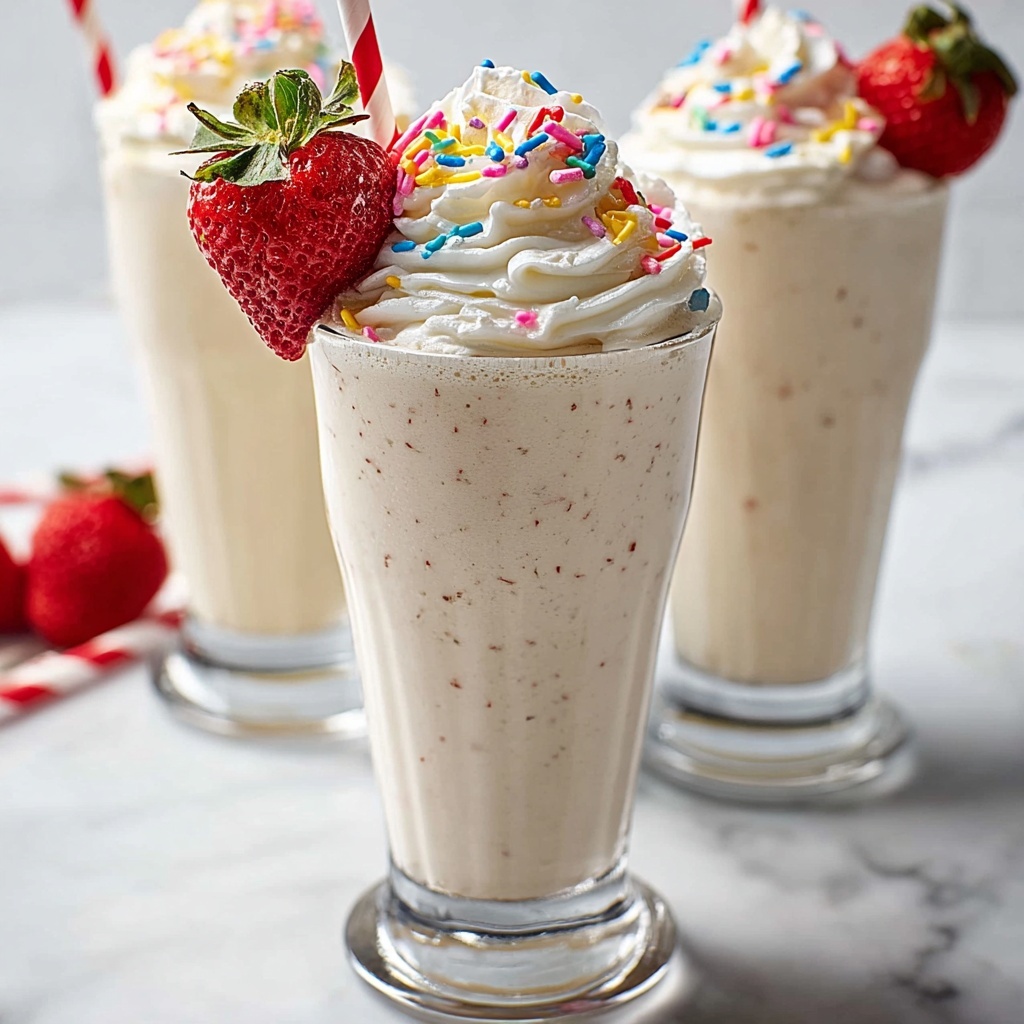
Top your milkshake with a generous swirl of whipped cream, sprinkle colorful sprinkles over the cream, and finish with a maraschino cherry or some sliced strawberries. These little details don’t just add to the flavor—they make the whole experience feel indulgent and fun, just like an ice cream parlor classic.
How to Serve Homemade Milkshake Recipe
Garnishes
Garnishes make your milkshake pop with personality. Whipped cream adds a cloud of creaminess, sprinkles bring festive color and texture, and fruits like cherries or strawberries add freshness and a juicy counterpoint. These little extras turn a simple shake into a feast for the eyes and taste buds alike.
Side Dishes
Pair your milkshake with classic sides to complete the experience: think crispy fries, mini burgers, or even sweet treats like brownies or cookies. This combo brings back that diner vibe and makes your snack or dessert feel wonderfully indulgent and satisfying.
Creative Ways to Present
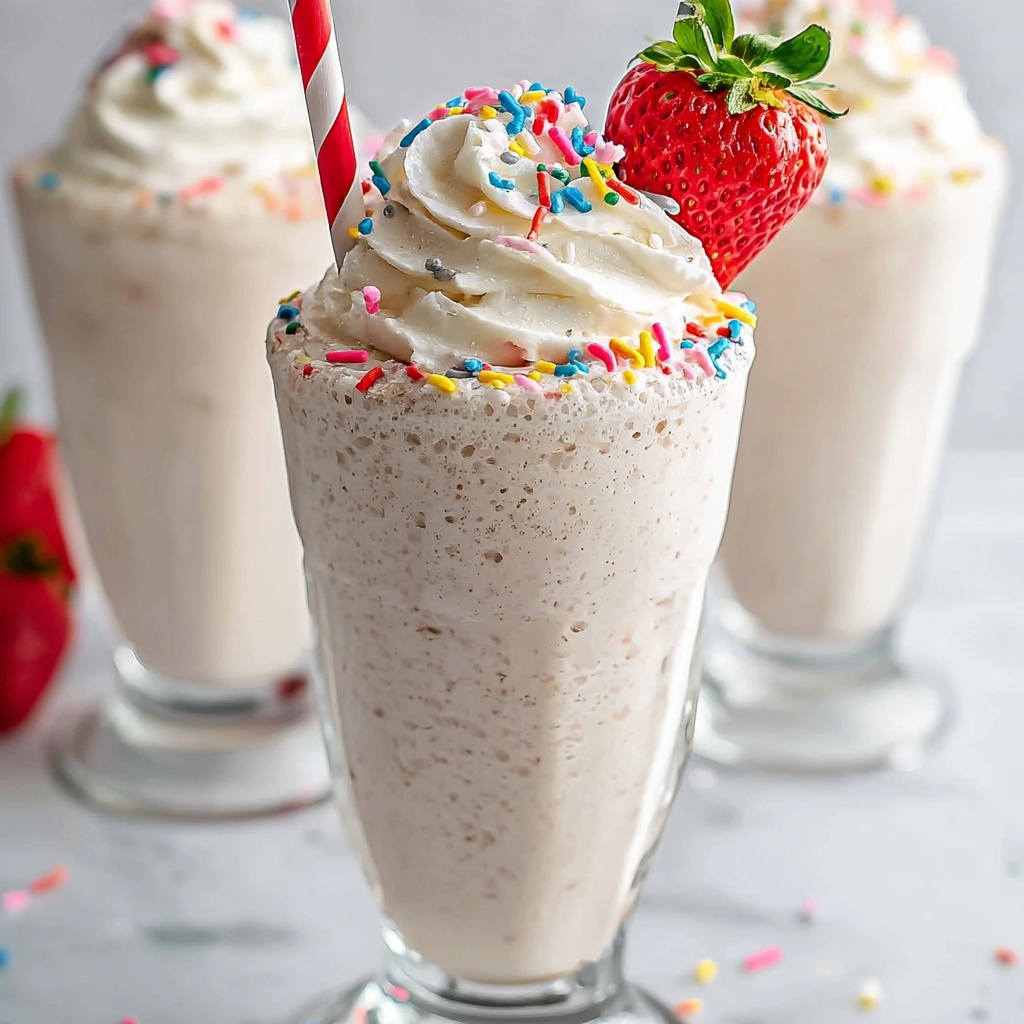
Take your milkshake presentation to the next level by using retro glassware or mason jars, adding a colorful straw, or drizzling chocolate or caramel syrup inside the glass before pouring the shake in. You can also rim the glass with crushed cookies or sprinkles for an extra-special touch that will wow your guests.
Make Ahead and Storage
Storing Leftovers
If you have any milkshake left, store it in an airtight container in the refrigerator. Give it a quick stir before drinking as the mixture may separate slightly. It’s best enjoyed within a day for the freshest taste and texture.
Freezing
You can freeze leftover milkshake in a sealed container for up to a week. When ready to enjoy, thaw it in the fridge and give it a good shake or stir to bring back its creamy consistency. Keep in mind, freezing may slightly change the texture compared to freshly made.
Reheating
Milkshakes are best served cold, so reheating is generally not recommended. If you want a warm alternative, consider turning your leftover shake into a hot chocolate by gently warming it on the stove while stirring continuously to prevent curdling.
FAQs
Can I use low-fat or non-dairy milk instead of full-fat milk?
Absolutely! While full-fat milk gives the creamiest results, you can substitute it with almond milk, oat milk, or any other milk alternative. Just know that the texture might be slightly less rich but still delicious.
What if I don’t have a blender?
You can mash the ice cream and milk vigorously with a whisk or fork until smooth, but a blender is highly recommended for the easiest and silkier milkshake consistency.
Can I add other flavors to this Homemade Milkshake Recipe?
Definitely! Feel free to experiment with peanut butter, caramel, coffee, or any fruit puree. The homemade nature of this recipe makes it super versatile and fun to customize.
How thick should my milkshake be?
Milkshakes can vary from drinkable to spoon-thick. If you want it thicker, add more ice cream; for a thinner milkshake, increase the milk slightly. Find your personal perfect balance!
Is this recipe suitable for kids?
Yes, it’s a kid-friendly treat when served in moderation. Just be mindful of added syrups or toppings and ensure any garnishes are safe for your children’s age.
Final Thoughts
Making this Homemade Milkshake Recipe is like inviting a little joy and comfort into your day with hardly any effort. It’s quick, simple, and endlessly adaptable, perfect for those moments when you want to treat yourself or share something special with loved ones. So, grab your favorite ice cream, whip out that blender, and dive into a creamy delight that never fails to bring a smile.
Print
Homemade Milkshake Recipe
- Prep Time: 5 minutes
- Cook Time: 0 minutes
- Total Time: 5 minutes
- Yield: 2 servings
- Category: Beverage
- Method: Blending
- Cuisine: American
Description
This Homemade Milkshake recipe is a quick and delicious treat made with creamy ice cream and full-fat milk, blended to smooth perfection. Customizable with chocolate syrup or fruit, it’s garnished beautifully with whipped topping, sprinkles, and cherries or strawberries, making it a classic dessert favorite for two.
Ingredients
Milkshake Base
- 1½ cups ice cream (vanilla or chocolate)
- ¼ cup full-fat milk
Optional Flavorings
- ¼ cup chocolate syrup (for chocolate shakes)
Garnishes
- Whipped topping
- Sprinkles
- Maraschino cherries or sliced strawberries
Instructions
- Combine Ingredients: In a blender, add the ice cream and full-fat milk. If you want to make a chocolate shake or add extra flavor, include chocolate syrup or your choice of fruit at this stage.
- Blend: Blend the mixture on medium to high speed until it turns smooth, creamy, and well combined without any lumps.
- Serve: Pour the blended milkshake evenly into two tall glasses for serving.
- Garnish: Top each glass with a generous amount of whipped topping, followed by sprinkles and your preferred fruit garnish like maraschino cherries or sliced strawberries to finish.
Notes
- Use full-fat milk and quality ice cream for the creamiest texture.
- Adjust sweetness by adding more or less chocolate syrup, or omit it for a classic vanilla shake.
- For a thicker shake, add more ice cream or reduce the milk slightly.
- Milkshakes are best enjoyed immediately to maintain their creamy texture.

