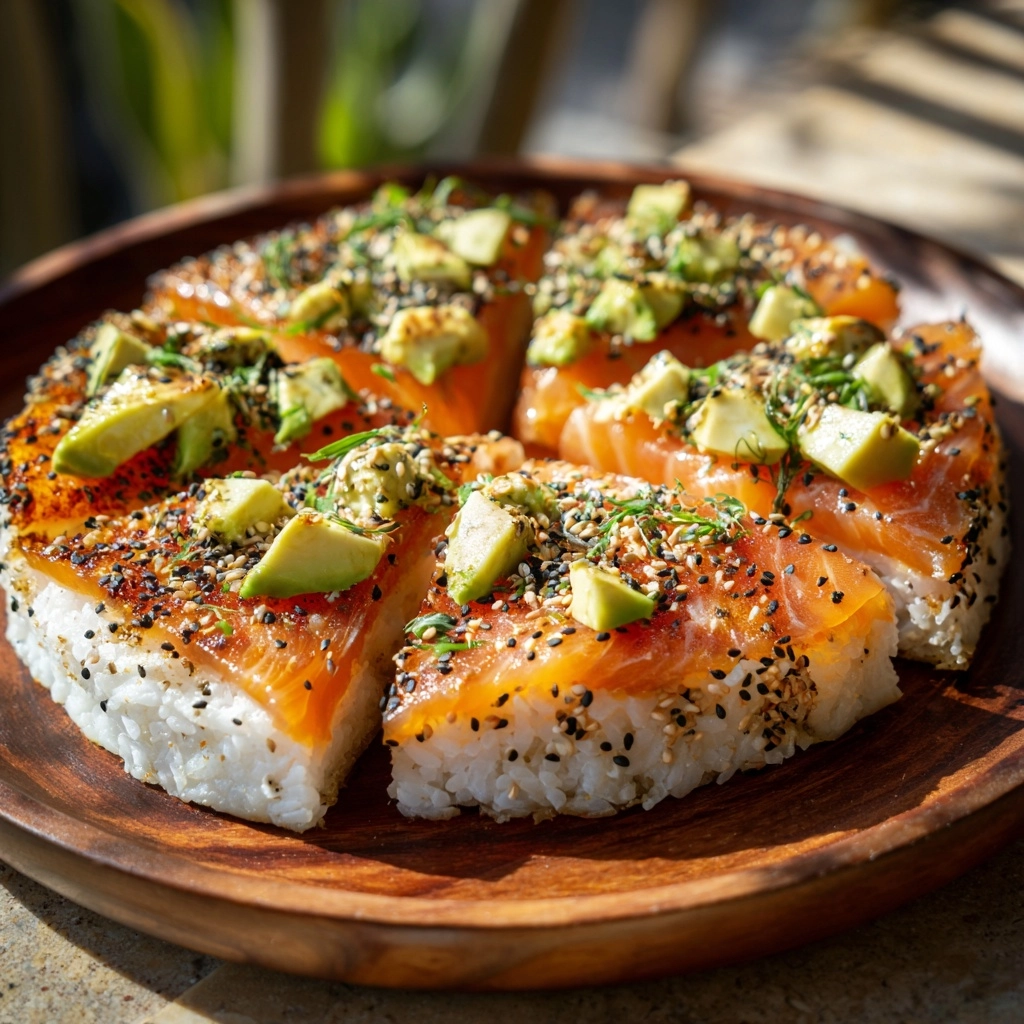
If you love sushi but want something warm, comforting, and just a little bit out of the ordinary, Baked Salmon Sushi is about to become your new obsession. Imagine all the crave-worthy flavors of your favorite salmon roll—creamy, savory fish, tangy rice, and vibrant veggies—tucked inside crisp nori and baked until golden and irresistible. It’s the ultimate fusion of cozy and fresh, perfect for impressing guests or treating yourself to a little weeknight luxury. Whether you’re a longtime sushi lover or brand new to rolling, you’ll adore how approachable and rewarding this dish is from start to finish.
Ingredients You’ll Need
Ingredients You’ll Need
Each element in this Baked Salmon Sushi recipe brings something unique to the table, whether it’s creaminess, crunch, or an irresistible kick. Keeping the list simple means every flavor gets a chance to shine—and you get a beautiful, well-balanced bite every single time!
- Sushi rice: The essential foundation—be sure to rinse and prepare it well for that signature sticky texture!
- Rice vinegar: Delivers the signature tang and brightness that defines sushi rice.
- Sugar: Just a touch balances the savory and tangy elements beautifully.
- Salt: Brings out all the subtle flavors in the rice mixture.
- Baked salmon: Flaked, tender, and full of rich, savory depth—use freshly baked or even canned in a pinch!
- Mayonnaise: Makes the salmon mixture creamy and a little luxurious.
- Sriracha (optional): For a gentle heat that kicks everything up a notch.
- Soy sauce: Adds umami and just the right amount of salt to the filling.
- Nori (seaweed): The classic, earthy wrapper that keeps everything together.
- Avocado: Buttery and rich slices for a mellow, creamy touch.
- Cucumber: Fresh, crisp, and a vibrant counterpoint to the creamy salmon.
- Sesame seeds: For a little nutty crunch and a beautiful finish.
- Soy sauce, pickled ginger, and wasabi (for serving): The traditional trio to dip, cleanse your palate, and add a little extra zing.
How to Make Baked Salmon Sushi
Step 1: Prep the Sushi Rice
First things first: you want that amazing sushi rice taste and texture. Cook your sushi rice according to package instructions, then while it’s still warm, gently mix in the rice vinegar, sugar, and salt. Let the magic happen as everything absorbs, then cool the rice to room temperature—this step gives your Baked Salmon Sushi that perfect sticky, flavorful bite.
Step 2: Mix the Baked Salmon Filling
In a small bowl, combine your flaked baked salmon, mayonnaise, optional sriracha for heat, and soy sauce. Stir until creamy and evenly mixed. This is where the heart of your sushi gets its lush, savory character—feel free to taste as you go and tweak the sriracha or mayo until it’s dreamy to you!
Step 3: Set Up Your Sushi Rolling Station
Line a baking sheet with parchment paper to prevent sticking. Lay out your nori sheets, shiny side down, so the rice will cling just right. Have your avocado slices, julienned cucumber, and salmon mixture all in reach—it’s about to get fun and hands-on.
Step 4: Assemble the Rolls
With clean, slightly damp hands, spread a thin, even layer of seasoned rice onto each nori sheet, pressing gently and leaving a 1-inch border at the top. Arrange a few slices of avocado and cucumber down the center, then dollop a generous spoonful of your salmon mixture along the veggies. Channel your inner sushi chef and roll up each sheet tightly, using the border to seal the roll.
Step 5: Bake to Golden Perfection
Preheat your oven to 400°F. Brush the tops of your sushi rolls lightly with oil or a bit of extra mayo for gorgeous browning. Bake for 10-12 minutes, just until they’re warmed through and the tops begin taking on a golden, slightly crisp finish. For even more crunch, broil for the last minute or two—just keep a close eye so you don’t go too far!
Step 6: Slice and Garnish
After baking, allow the rolls to cool a bit for cleaner slices. With a sharp, moist knife, cut each roll into rounds. Sprinkle with plenty of sesame seeds and get ready to dig in, surrounded by your favorite dipping sauces and garnishes.
How to Serve Baked Salmon Sushi
Garnishes
The right garnish can take Baked Salmon Sushi from delicious to downright show-stopping. A scattering of toasted sesame seeds adds nutty aroma and crunch, while classic accompaniments like soy sauce, pickled ginger, and a dab of wasabi let everyone customize every bite. Bright green onions, microgreens, or a sprinkle of furikake are fabulous extras if you have them!
Side Dishes
This sushi rolls beautifully into a meal with light, refreshing sides. Try a crisp seaweed salad, tangy cucumber sunomono, or a bowl of miso soup for a harmonious spread. If you’re feeding a crowd, some edamame or simple Asian slaw balances everything out and invites everyone to keep coming back for more Baked Salmon Sushi.
Creative Ways to Present
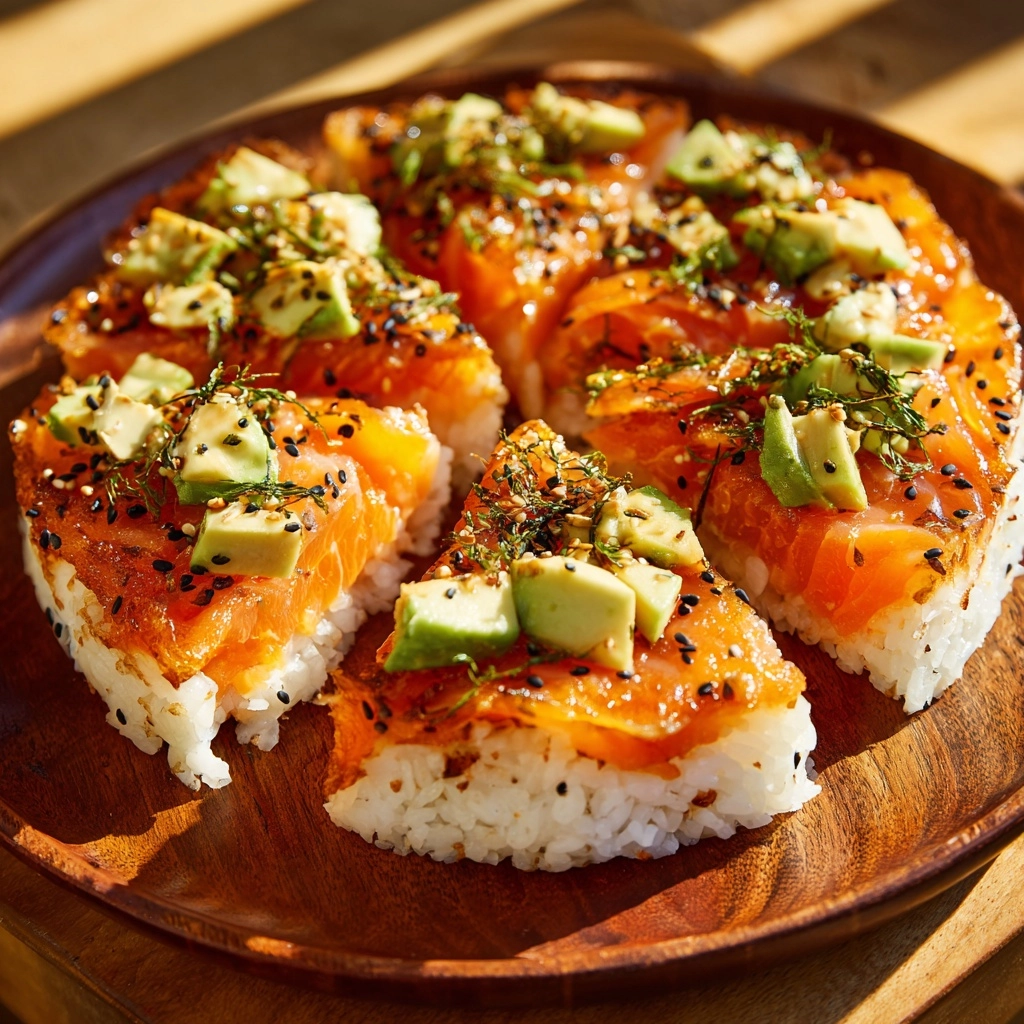
Make your Baked Salmon Sushi party-worthy by slicing the rolls into bite-sized rounds and arranging them on a chic platter. A drizzle of spicy mayo or sweet soy glaze (teriyaki-style) can add visual drama. Want to go modern? Serve sushi roll “bites” in mini cupcake wrappers with a single garnish for a fun, mess-free appetizer.
Make Ahead and Storage
Storing Leftovers
If you somehow end up with extras (lucky you!), tightly wrap the remaining Baked Salmon Sushi in plastic wrap or store in an airtight container in the refrigerator. The sushi will stay fresh for about 1-2 days, though the rice typically tastes best within the first day.
Freezing
Freezing isn’t ideal for Baked Salmon Sushi, as the rice can get a bit tough and the avocado may not thaw beautifully. However, if you must, freeze the rolls without the avocado and cucumber, then add fresh veggies just before serving for best results. Always wrap tightly to prevent freezer burn.
Reheating
To gently reheat, place the sushi rolls in a preheated 350°F oven for about 5-7 minutes, covered lightly with foil to lock in moisture. This perks up the filling and brings back a touch of that baked warmth, making each bite taste freshly made.
FAQs
Can I use canned salmon for Baked Salmon Sushi?
Absolutely! If you’re short on time or have canned salmon on hand, just drain it well and flake it with the mayonnaise mixture. You’ll still enjoy all the savory flavor and creamy texture that make this recipe shine.
Do I need a sushi mat to roll these?
Nope! Because the rolls get baked and don’t need ultra-tight shaping, you can roll them up easily by hand. If you want neater, uniform rolls, a bamboo sushi mat is handy but not required—just use gentle, even pressure as you roll.
Can I make Baked Salmon Sushi ahead of time for a party?
Yes! You can assemble and bake the rolls earlier in the day, then slice and serve at room temperature or with a quick warm-up in the oven before your guests arrive. Hold off on adding garnishes until right before serving to keep everything fresh.
What can I use instead of mayonnaise?
If you’re not a fan of mayo, try mixing your baked salmon with Greek yogurt or a little soft cream cheese for a similar creamy effect. You can also use a vegan mayo if you’re looking to make this dairy-free.
How spicy is the sriracha, and can I control the heat?
You’re totally in charge here. The sriracha adds a pleasant kick, but you can use as little or as much as you like, or leave it out altogether if you’re cooking for spice-sensitive eaters. Want to heat things up? Add a dash more or serve extra on the side.
Final Thoughts
If you’re craving something new and memorable, Baked Salmon Sushi is your ticket to cozy, crowd-pleasing flavor with all the perks of homemade sushi—no special equipment, no stress, just pure deliciousness. Give it a try, have fun with the fillings, and watch it become a staple for weeknights and gatherings alike!
Print
Baked Salmon Sushi Recipe
- Prep Time: 20 minutes
- Cook Time: 30 minutes
- Total Time: 50 minutes
- Yield: 4 rolls
- Category: Main Course
- Method: Baking
- Cuisine: Japanese-Inspired
- Diet: Non-Vegetarian
Description
Learn how to make delicious Baked Salmon Sushi at home with this easy recipe. Perfectly seasoned sushi rice, flaked salmon, and fresh vegetables rolled up in nori sheets and baked to crispy perfection.
Ingredients
Sushi Rice:
- 1 cup sushi rice, rinsed and cooked according to package instructions
- 2 tablespoons rice vinegar
- 1 tablespoon sugar
- 1/2 teaspoon salt
Filling:
- 8 oz cooked salmon (baked and flaked)
- 2 tablespoons mayonnaise
- 1 tablespoon sriracha (optional)
- 1 teaspoon soy sauce
- 1 small avocado, sliced
- 1/2 cucumber, julienned
- Sesame seeds for garnish
- Soy sauce, pickled ginger, and wasabi for serving
Instructions
- Preheat the oven: Preheat the oven to 400°F. Season the rice.
- Mix salmon filling: Combine flaked salmon, mayonnaise, sriracha, and soy sauce.
- Prepare nori sheets: Lay out nori sheets and spread rice, avocado, cucumber, and salmon mixture.
- Roll up: Roll tightly, brush with oil, and bake.
- Serve: Cool, slice, and garnish with sesame seeds. Serve with soy sauce, pickled ginger, and wasabi.
Notes
- For extra crispiness, broil the rolls for the last 1-2 minutes.
- You can use canned salmon as a substitute for fresh baked salmon.
- Experiment with additions like cream cheese or green onions for different flavors.
Nutrition
- Serving Size: 1 roll
- Calories: 380
- Sugar: 3g
- Sodium: 540mg
- Fat: 18g
- Saturated Fat: 3g
- Unsaturated Fat: 12g
- Trans Fat: 0g
- Carbohydrates: 38g
- Fiber: 3g
- Protein: 19g
- Cholesterol: 35mg


