
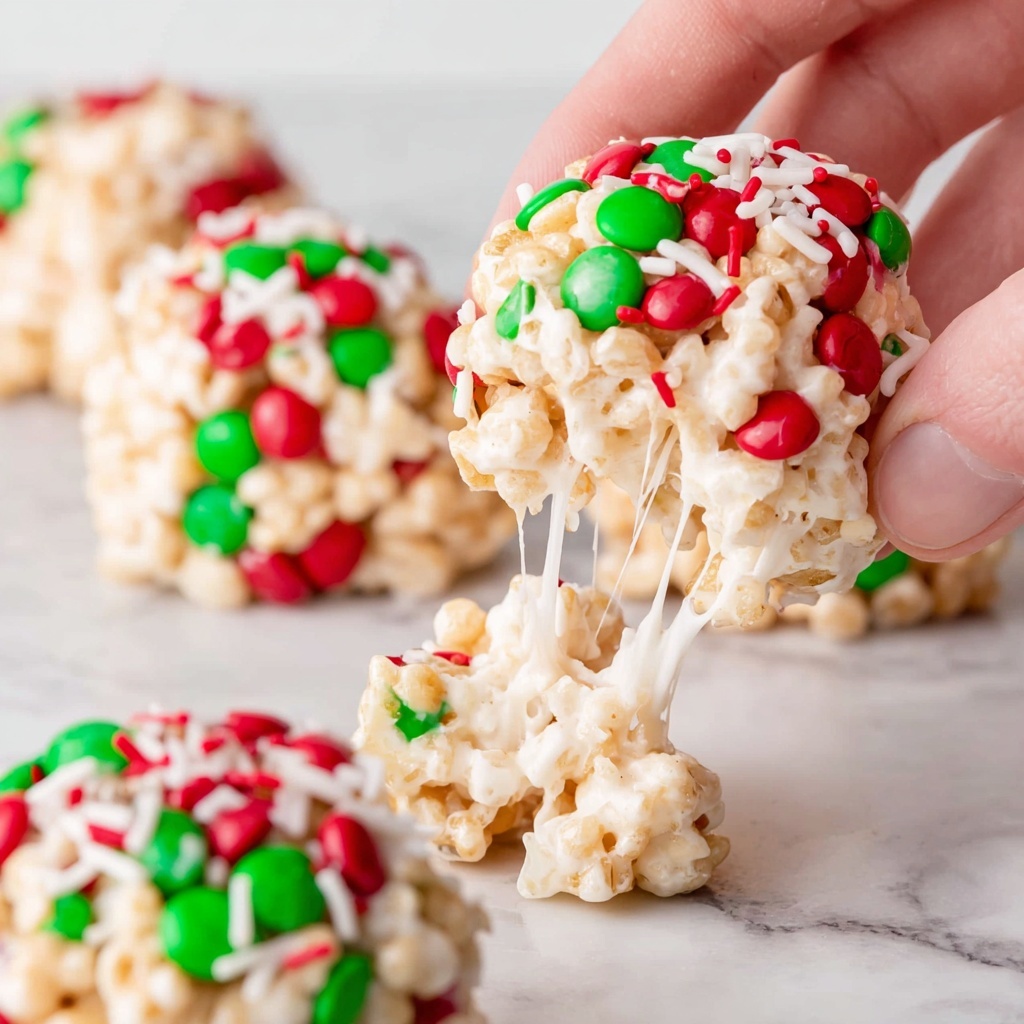
If you’re looking for a festive treat that’s irresistibly sweet, delightfully chewy, and bursting with colorful holiday charm, the Chewy Marshmallow Popcorn Balls with Holiday Candies Recipe is your new go-to! This fun and easy snack combines crisp popcorn with gooey marshmallows and an inviting sprinkle of holiday candies, creating a perfect blend of textures and flavors that will have everyone coming back for more. Whether you’re making this for a party, gifting, or just a cozy night in, these popcorn balls are pure joy in edible form.
Ingredients You’ll Need
The beauty of the Chewy Marshmallow Popcorn Balls with Holiday Candies Recipe is how few, simple ingredients you need to create something truly magical. Each ingredient plays a special role: crisp popcorn provides the base crunch, melted butter adds richness, marshmallows create chewy sweetness, vanilla enhances depth of flavor, and holiday candies bring bursts of color and extra fun.
- 8-9 cups popcorn (popped, unflavored): Use fresh, unbuttered popcorn for the perfect canvas.
- ¼ cup butter: Adds creamy smoothness and helps melt the marshmallows evenly.
- 1 10-ounce bag of marshmallows: The star that binds everything into that signature chewy texture.
- ½ teaspoon vanilla extract: Boosts flavor with a warm and inviting note.
- Holiday candies (and sprinkles optional): Pick your favorites to add festive colors, textures, and a fun twist.
How to Make Chewy Marshmallow Popcorn Balls with Holiday Candies Recipe
Step 1: Melt the Butter and Marshmallows
Start by melting the butter gently in a large saucepan over low heat. Once the butter has melted, add the marshmallows and stir constantly. This slow melt ensures the marshmallows become perfectly smooth and easy to combine with the popcorn later on.
Step 2: Stir in Vanilla and Mix with Popcorn
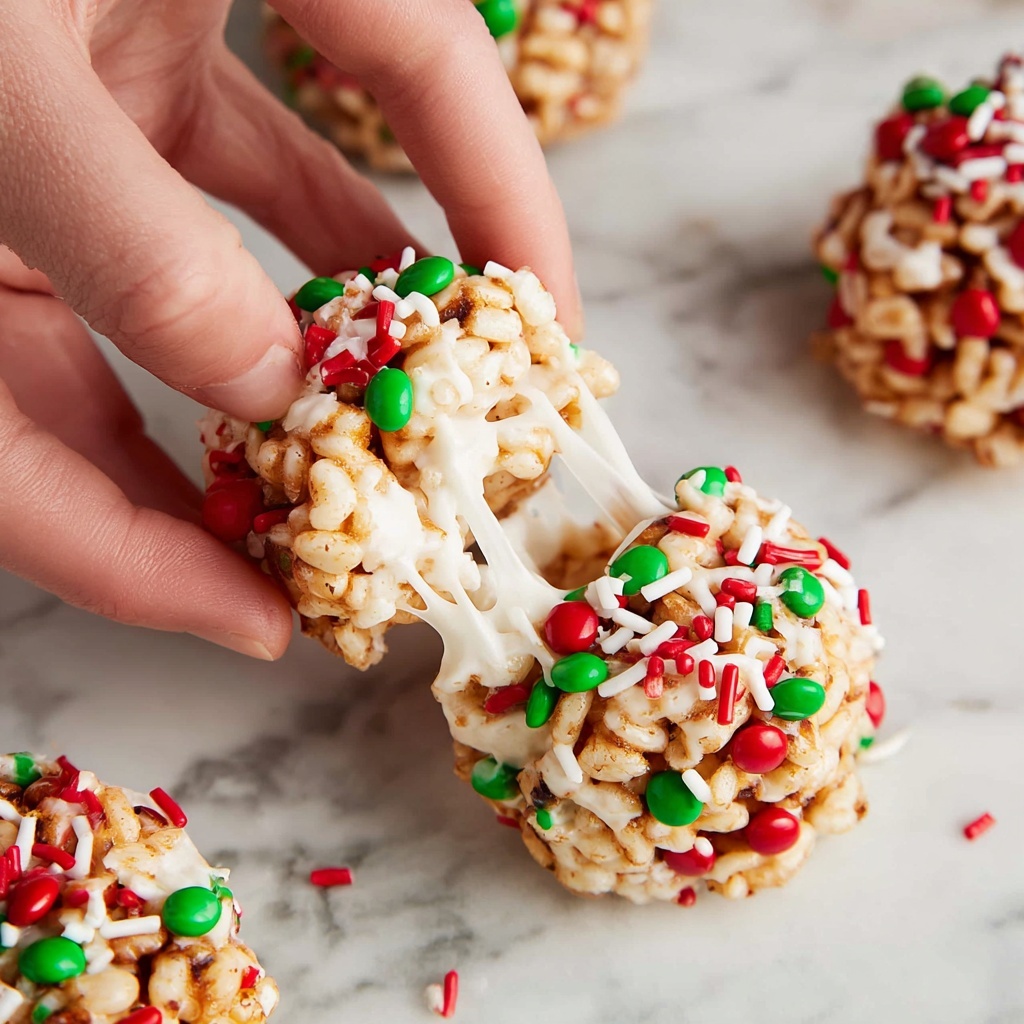
Remove the saucepan from the heat and stir in the vanilla extract to brighten the flavor. Immediately fold in the popcorn, making sure every kernel gets coated with the marshmallow mixture. This is where the magic happens: the popcorn becomes soft and chewy while maintaining a subtle crunch.
Step 3: Prepare to Shape the Balls
Let your luscious popcorn mixture cool just enough so you can handle it comfortably—warm, but not too hot. To keep the mixture from sticking to your hands, lightly spray them with nonstick cooking spray, making the next step much easier and less sticky.
Step 4: Shape the Popcorn Balls
Scoop about one cup of the marshmallow popcorn mixture and gently shape it into a ball. Don’t worry about making it perfect—these treats have a delightful homemade look that adds to their charm.
Step 5: Chill and Set
Place each formed ball on a sheet of waxed paper or a silicone baking mat. Allow them to cool completely so they firm up nicely and hold their shape. Once set, they’re ready to enjoy or gift!
How to Serve Chewy Marshmallow Popcorn Balls with Holiday Candies Recipe
Garnishes
Top your popcorn balls with crushed peppermint, colorful sprinkles, or even mini chocolate chips to embellish their holiday spirit. These garnishes not only look festive but also add delightful texture and flavor contrasts.
Side Dishes
Pair these sweet treats with hot cocoa, spiced cider, or even a simple glass of cold milk. The creamy drinks balance the sweetness and make your snack time a cozy celebration.
Creative Ways to Present
Wrap individual popcorn balls in clear cellophane tied with a ribbon for charming party favors or gifts. You can also arrange them in a decorative bowl with mini candy canes for a colorful, irresistibly festive display at holiday gatherings.
Make Ahead and Storage
Storing Leftovers
Store leftover popcorn balls in an airtight container at room temperature for up to three days. This keeps them soft and chewy without drying out the marshmallow coating.
Freezing
If you want to keep them longer, wrap each ball tightly in plastic wrap and place them in a freezer-safe container. They freeze beautifully for up to a month without losing their delightful texture.
Reheating
To enjoy frozen popcorn balls, simply thaw at room temperature for about 30 minutes. If you want to warm them up slightly, microwave on low power for 10–15 seconds, but be careful not to melt the marshmallows too much.
FAQs
Can I use flavored popcorn for this recipe?
While unflavored popcorn is best to let the marshmallow and candy flavors shine, you can experiment with mild flavors like butter or caramel, but avoid anything too salty or savory to keep the perfect balance.
What types of holiday candies work best?
Mini candy canes, red and green M&Ms, crushed peppermint, and holiday-themed sprinkles add great color and flavors. The goal is to add festive crunch and sweetness without overpowering the marshmallow taste.
How do I keep popcorn balls from getting sticky?
Slightly cooling the marshmallow mixture before shaping and spraying your hands with cooking spray will prevent stickiness and help form smooth, neat balls.
Can kids make this recipe?
Absolutely! This is a fantastic hands-on treat for kids with adult supervision when handling hot marshmallows. It’s fun, simple, and a perfect holiday activity.
Are these popcorn balls gluten-free?
Yes! As long as your popcorn and candies are certified gluten-free, this recipe is safe for those avoiding gluten.
Final Thoughts
I hope you enjoy making and sharing this Chewy Marshmallow Popcorn Balls with Holiday Candies Recipe as much as I do. It’s a festive, fun, and unbelievably tasty treat that brings everyone together with smiles and sweet memories. Happy holidays and happy snacking!
Print
Chewy Marshmallow Popcorn Balls with Holiday Candies Recipe
- Prep Time: 10 minutes
- Cook Time: 0 minutes
- Total Time: 10 minutes
- Yield: 8 popcorn balls
- Category: Snack
- Method: Stovetop
- Cuisine: American
- Diet: Vegetarian
Description
These homemade Popcorn Balls are a fun and easy treat perfect for holiday celebrations or anytime you want a sweet, crunchy snack. Made with melted marshmallows and buttery popcorn, they’re easy to shape and customizable with your favorite holiday candies or sprinkles for festive flair.
Ingredients
Popcorn Mixture
- 8–9 cups popcorn (popped, unflavored)
- ¼ cup butter
- 1 10-ounce bag of marshmallows
- ½ tsp vanilla extract
Toppings (Optional)
- Holiday candies
- Sprinkles
Instructions
- Melt the butter and marshmallows: In a large saucepan over medium heat, melt the butter completely. Add the marshmallows and stir constantly until they have fully melted into a smooth mixture.
- Add vanilla and popcorn: Remove the saucepan from heat and stir in the vanilla extract. Immediately fold in the popped, unflavored popcorn until it is evenly coated with the marshmallow mixture.
- Prepare to shape: Allow the mixture to cool slightly so it is easier to handle. Lightly spray your hands with nonstick cooking spray to prevent sticking.
- Form the popcorn balls: Scoop about 1 cup of the popcorn mixture and shape it into a ball with your hands, pressing gently but firmly to hold the shape.
- Cool and set: Place each formed popcorn ball on a sheet of waxed paper or a silicone baking mat. Let them cool completely so they set and hold their shape.
Notes
- You can add holiday candies or sprinkles into the mixture or press them onto the outside of the popcorn balls for extra decoration.
- Use nonstick cooking spray or wet your hands slightly to prevent the mixture from sticking while shaping.
- Store popcorn balls in an airtight container at room temperature for up to 2 days for best freshness.
- For a gluten-free treat, ensure the popcorn and any added decorations are certified gluten-free.

