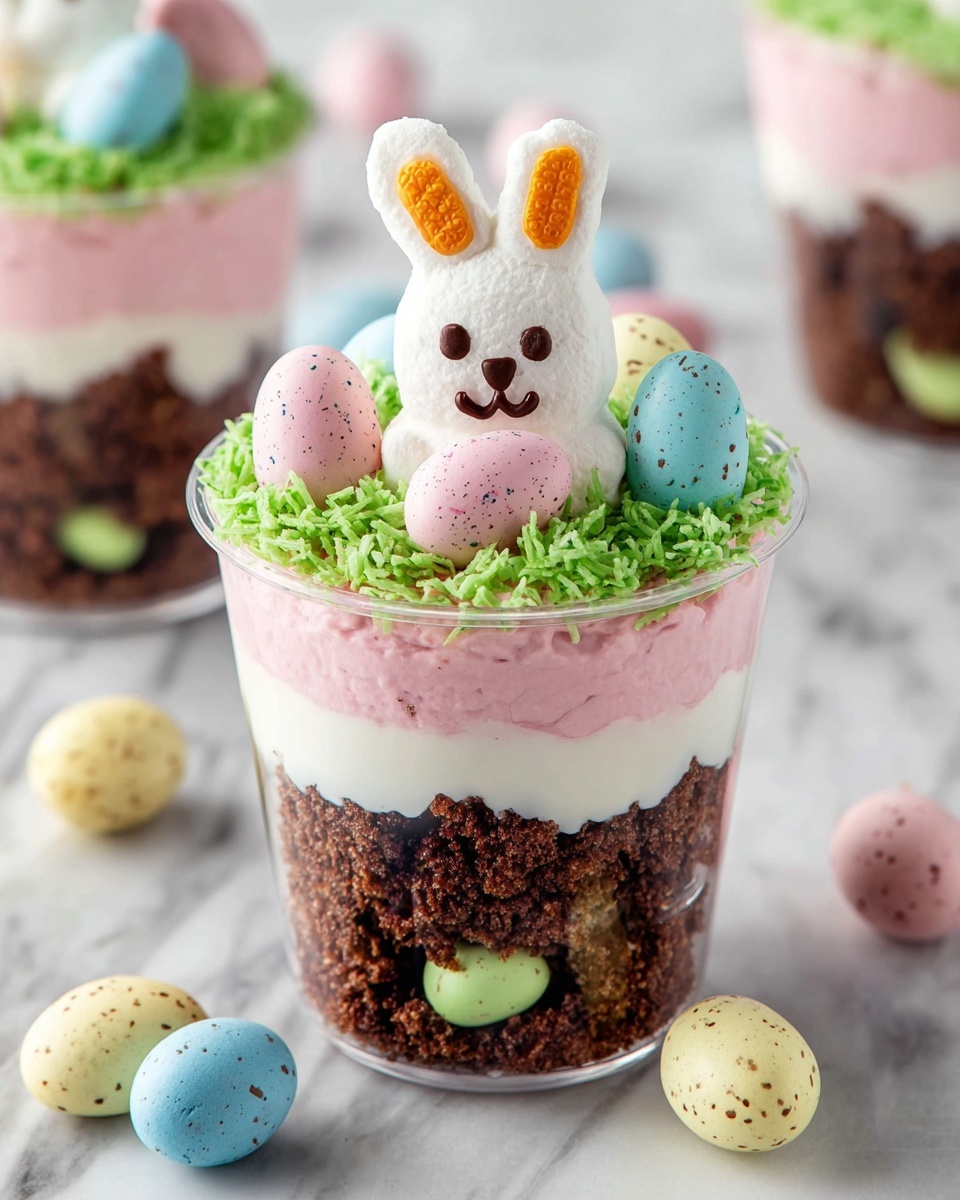
If you want a dessert that brings a playful spring vibe and a delightful combination of creamy, crunchy, and colorful textures, then you are going to love this Easter Dirt Cups Recipe. It’s a whimsical treat that grabs the magic of Easter celebrations with layers of vanilla pudding, whipped topping, and crushed Oreos to give you that perfect “dirt” base. Then, with some creative touches like colorful coconut and charming candy eggs, these cups become the ultimate festive dessert everyone will be raving about. Whether you’re making them with family or for a crowd, this recipe is fun, approachable, and guaranteed to make your dessert table shine.
Ingredients You’ll Need
The ingredients for this Easter Dirt Cups Recipe are wonderfully simple but essential to nail the perfect balance of flavors and textures. Each element plays a special role — the pudding and Cool Whip create creamy layers, Oreos provide that satisfying crunch, and the decorations add fun pops of color that bring the dessert to life.
- Vanilla instant pudding mix (3.9 oz.): This is the creamy foundation that sets the sweet, smooth flavor.
- Cold milk (2 cups): Needed to whip up the pudding just right for a silky consistency.
- Cool Whip (8 oz., thawed): Adds a fluffy, luscious texture that makes the cups dreamy and light.
- Oreo cookies (finely crushed): Provides that “dirt” effect and a crunchy contrast to the creamy pudding.
- Food coloring (various colors): Brings festive shades to your pudding layers and coconut for that Easter spirit.
- Shredded coconut: Becomes a colorful grassy garnish when tinged with food coloring.
- Candy eggs: A classic Easter decoration that adds sweetness and eye-catching detail.
- Peeps: These marshmallow chicks or bunnies complete the playful theme and add extra fun.
How to Make Easter Dirt Cups Recipe
Step 1: Prepare the Vanilla Pudding
Start by whisking together the vanilla instant pudding mix and cold milk for about 2 minutes using a medium bowl; then let it sit for 5 minutes so it can thicken properly. This step ensures you get that perfectly creamy base for the dirt cups.
Step 2: Divide and Color the Pudding Mixture
Once your pudding has set, split it evenly into two bowls. Now the fun part: add food coloring to each bowl to create your favorite pastel hues. Purple and pink are perfect for Easter, but feel free to mix it up to suit your mood and party colors.
Step 3: Fold in the Cool Whip
Gently fold the thawed Cool Whip into each bowl of colored pudding. This lightens the texture and makes the layers fluffy and inviting, doubling the dessert’s creaminess without overpowering the vanilla flavor.
Step 4: Layer the Oreo Cookies at the Bottom
Grab your serving cups or mason jars and start with a tablespoon of finely crushed Oreo cookies. This layer acts like the “dirt,” laying down a crunchy base that contrasts beautifully against the soft pudding layers above.
Step 5: Add the First Colored Pudding Layer
Carefully spoon a layer of one colored pudding mixture over the Oreo crumbs. Keep the layers even and smooth to create a beautiful contrast when you alternate colors in the upcoming steps.
Step 6: Alternate Layers and Finish with Oreos
Keep building by alternating between crushed Oreo cookies and the two colors of pudding, layering gently to keep the dessert neat and appealing. Be sure to end with a layer of crushed Oreos on top to resemble a freshly tilled Easter garden.
Step 7: Refrigerate to Set
Place the cups in the refrigerator for at least one hour. This chilling time allows all the layers to firm up nicely so your Easter Dirt Cups Recipe holds its shape when served.
Step 8: Color the Coconut “Grass”
While the cups chill, put shredded coconut in a container with a lid, add a few drops of food coloring and a splash of water, then shake well until the coconut is evenly tinted. This colorful “grass” is the perfect crunchy and festive topping.
Step 9: Garnish and Serve
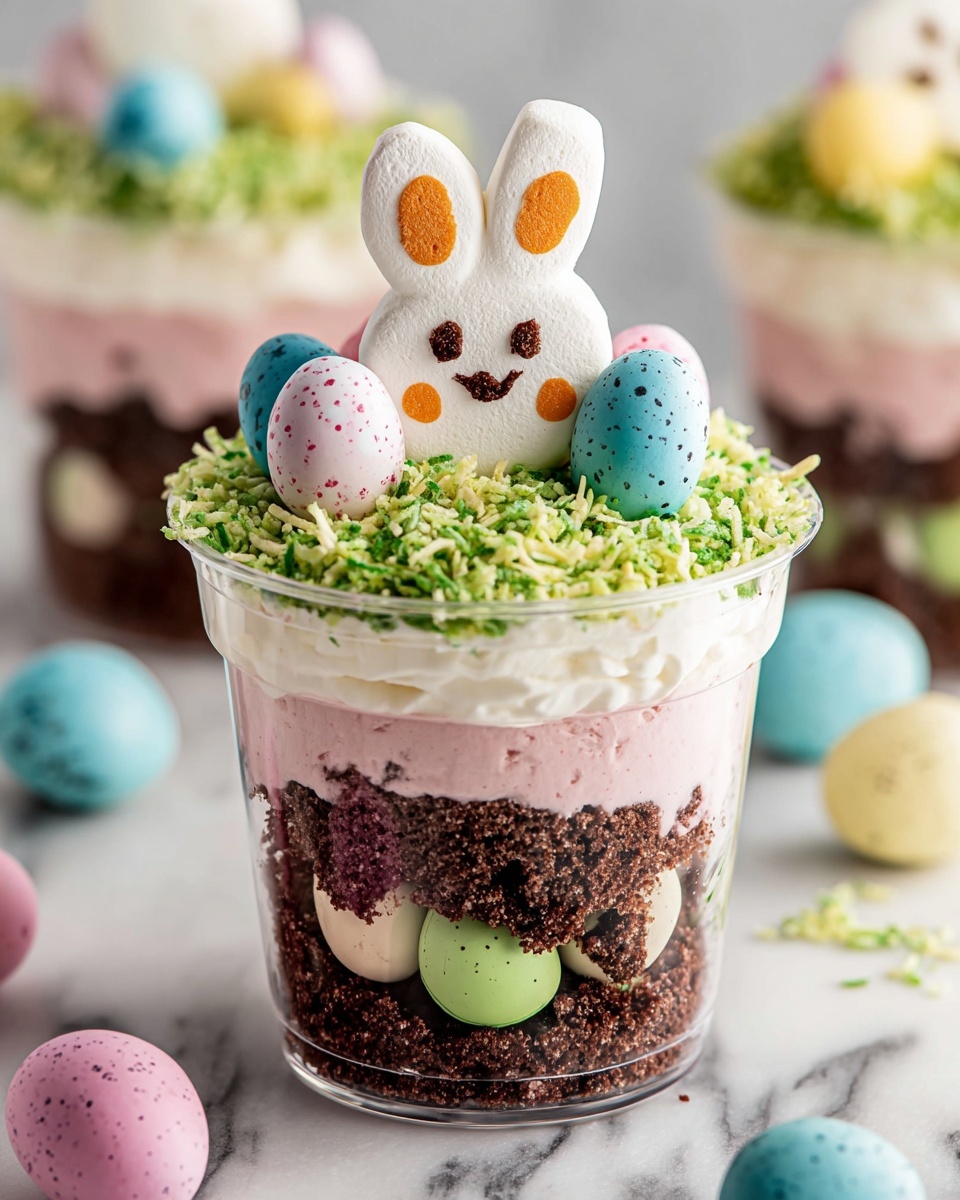
Just before serving, sprinkle the colored coconut over the top of each dirt cup. Decorate with candy eggs and adorable Peeps to complete the playful look of a springtime garden. It’s the final touch that will have everyone smiling.
How to Serve Easter Dirt Cups Recipe
Garnishes
To elevate your Easter Dirt Cups Recipe, fresh garnishes are key. The colored coconut provides a playful grassy texture, while candy eggs add a delicate sweetness and fun shapes. Peeps bring an iconic Easter touch, making these cups look as festive as they taste.
Side Dishes
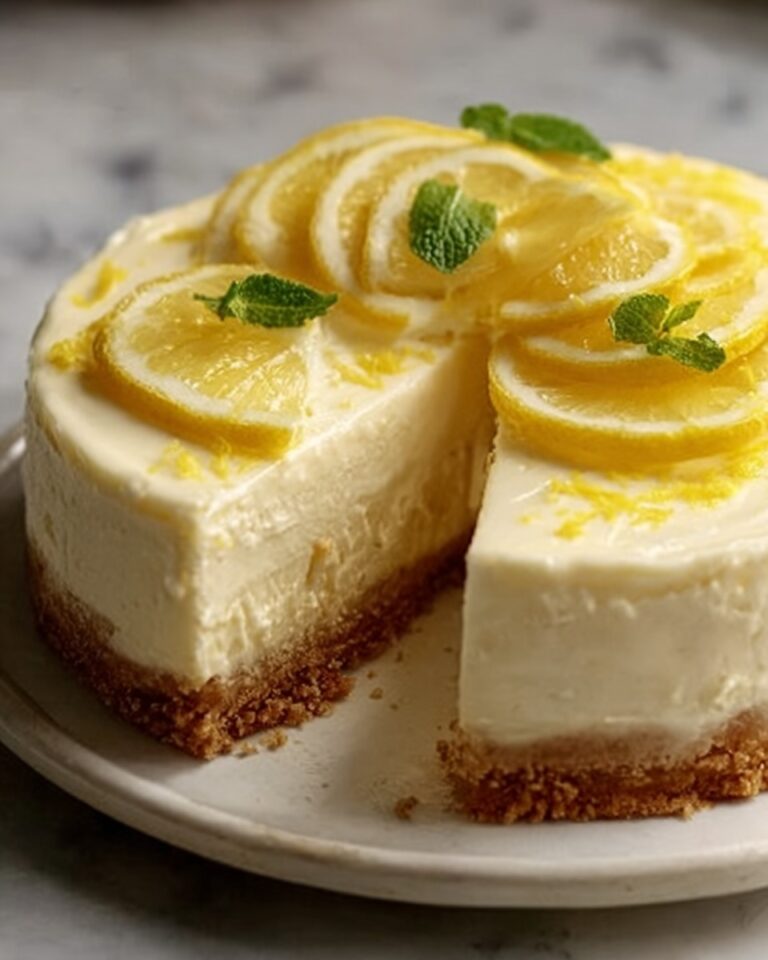
Pair your dirt cups with light, fresh sides such as a spring fruit salad or a tangy lemon tart for a balanced buffet. The creamy, sweet dirt cups create the perfect finale after lighter fare, pleasing guests with every bite.
Creative Ways to Present
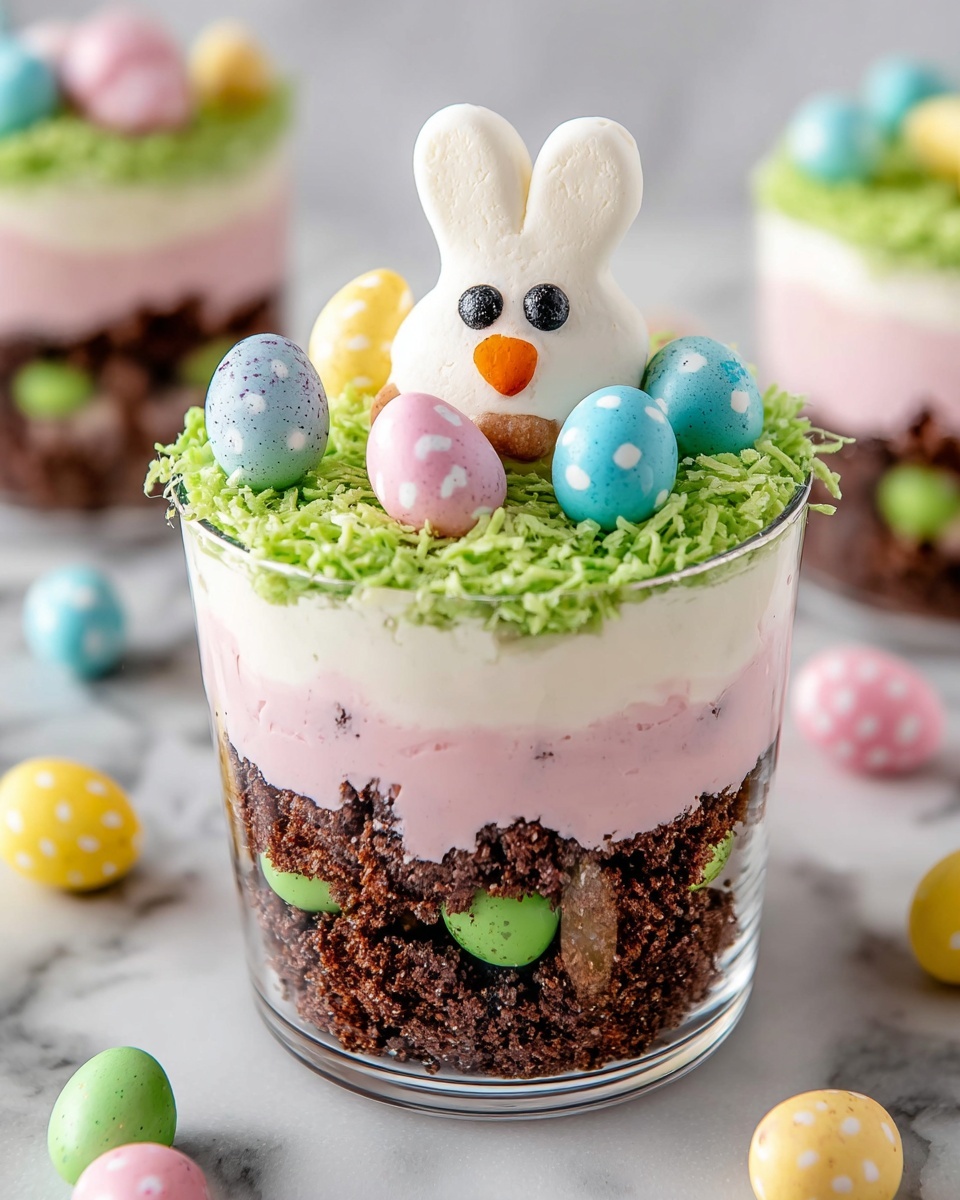
Consider serving these dirt cups in clear glasses or mason jars to showcase their layered beauty. You can also personalize cups with mini flags or name tags for parties, making each guest feel special. For kids, adding small plastic gardening tools or bunny-shaped spoons makes eating these even more delightful.
Make Ahead and Storage
Storing Leftovers
You can store any leftover Easter Dirt Cups Recipe covered in the refrigerator for up to 2 days. Keep them chilled to preserve the creamy texture and prevent the crushed Oreos from becoming soggy.
Freezing
While these cups taste best fresh, you can freeze them for up to a month if necessary. Freeze in airtight containers, but be aware that the texture of the Cool Whip and pudding may change slightly upon thawing.
Reheating
Since this dessert is best served cold, reheating is not recommended. Simply thaw frozen cups in the refrigerator overnight and serve chilled for the best experience.
FAQs
Can I use regular whipped cream instead of Cool Whip?
Yes, you can substitute whipped cream, but Cool Whip holds its shape better and adds sweetness with less effort. If using whipped cream, make sure it’s stabilized to keep the layers firm.
How can I make this dessert healthier?
To lighten the dessert, try using reduced-fat pudding mix and light whipped topping. You could also swap Oreos for granola or crushed whole-grain cookies to add some fiber.
Can this recipe be made gluten-free?
Absolutely! Use gluten-free vanilla pudding and substitute the Oreos with a gluten-free chocolate cookie crumb. Many gluten-free cookie brands work wonderfully.
Is there a way to make this vegan?
To make this Easter Dirt Cups Recipe vegan, choose plant-based milk and pudding alternatives, vegan whipped topping, and vegan-friendly cookies. The decorations can be swapped for vegan candies too.
How far in advance can I prepare the dirt cups?
Prepare the cups up to one day ahead and keep them refrigerated. Add the colorful coconut and candy decorations right before serving for optimal freshness and presentation.
Final Thoughts
This Easter Dirt Cups Recipe is truly one of those special treats that brighten up any holiday gathering with its charming look and irresistible flavor. Whether you’re a seasoned baker or just looking for a quick, crowd-pleasing dessert, these dirt cups hit the sweet spot between fun and delicious. I encourage you to gather your ingredients, invite a few helpers, and make this delightful recipe that everyone—inspired by spring and sunshine—will adore sharing.
Print
Easter Dirt Cups Recipe
- Prep Time: 20 minutes
- Cook Time: 0 minutes
- Total Time: 1 hour 20 minutes
- Yield: 18 dirt cups
- Category: Dessert
- Method: No-Cook
- Cuisine: American
- Diet: Vegetarian
Description
These Easter Dirt Cups are a fun, festive dessert featuring creamy colored pudding layers, crunchy Oreo cookie crumbs, and colorful candy decorations. Perfect for spring celebrations, they combine vanilla instant pudding with whipped topping, layered with crushed Oreos and vibrant colored shredded coconut, topped off with candy eggs and Peeps for a playful dirt-and-egg garden theme.
Ingredients
Pudding Mixture
- 1 package (3.9 oz) vanilla instant pudding mix
- 2 cups cold milk
- 1 container (8 oz) Cool Whip, thawed
Cookie Layer
- 1 package Oreo cookies, finely crushed with filling removed
Coloring and Decorations
- Food coloring (various colors for pudding and coconut)
- Shredded coconut
- Candy eggs
- Peeps marshmallow candies
Instructions
- Make the pudding: In a medium bowl, whisk the vanilla instant pudding mix together with cold milk for 2 minutes until smooth. Let the mixture stand for 5 minutes to thicken.
- Color the pudding: Divide the pudding evenly into two separate bowls. Add different food coloring to each bowl to create your desired colors, such as purple in one and pink in the other.
- Fold in Cool Whip: Gently fold the thawed Cool Whip into each colored pudding bowl until fully blended and creamy.
- Layer the cups: Add one tablespoon of finely crushed Oreo cookies to the bottom of each mason jar or serving cup to create the first ‘dirt’ layer.
- Add pudding layers: Spoon a layer of one colored pudding mixture over the cookie crumbs in each cup.
- Repeat layering: Alternate layers of colored pudding mixtures and crushed Oreos, finishing with a top layer of cookie crumbs.
- Chill: Refrigerate the layered dirt cups for at least 1 hour so they can set properly.
- Color the coconut: Place shredded coconut in a container with a lid. Add a few drops of food coloring and a splash of water, then shake well until the coconut is evenly colored.
- Garnish and serve: Just before serving, top each dirt cup with the colored shredded coconut, candy eggs, and Peeps to create a festive Easter dirt garden look.
Notes
- Removing the Oreo filling helps keep the ‘dirt’ texture more crumbly and authentic.
- Use small mason jars or clear cups to showcase the colorful pudding layers.
- The colored shredded coconut adds a fun pop of color and texture resembling grass or moss.
- Feel free to customize the pudding colors and candy decorations to match your party theme.
- Refrigerate leftovers tightly covered; best consumed within 24 hours for freshness.


