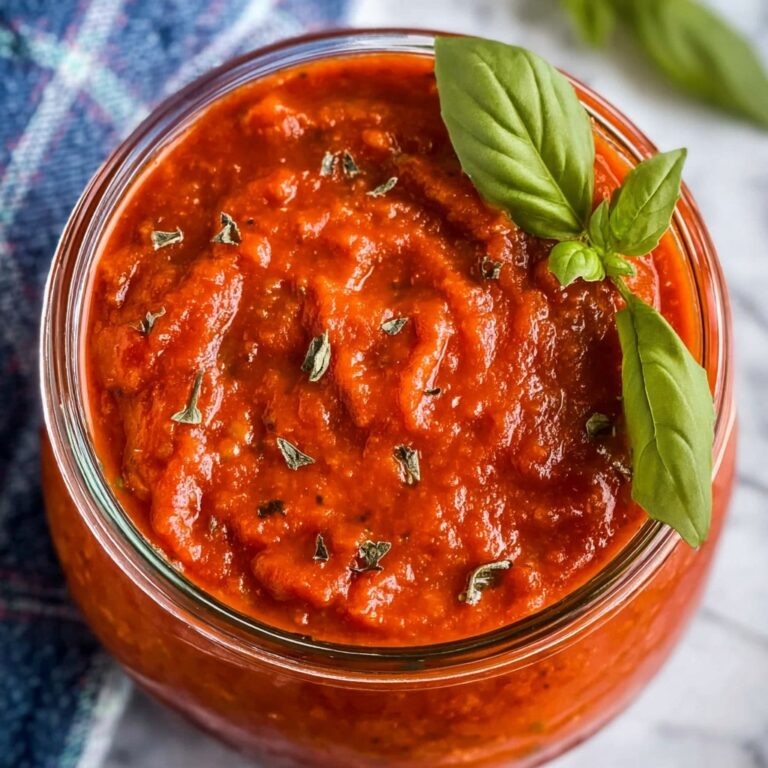
If you have a sweet tooth and a love for creamy desserts, let me introduce you to the magic of a Homemade Chocolate Pudding Recipe that’s both simple and downright delicious. The beauty of this pudding lies in its rich chocolate flavor and silky smooth texture, made from scratch using everyday ingredients. Whether you’re looking for a comforting treat after dinner or a nostalgic dessert to impress guests, this pudding is pure joy in a bowl.
Ingredients You’ll Need
Gathering your ingredients for this recipe is a breeze, yet each one plays a crucial role in building the perfect texture and deep chocolate taste. From the cocoa powder’s rich color to the butter’s luscious creaminess, every element works together to create an irresistible pudding.
- Sugar: Provides the perfect touch of sweetness to balance the cocoa’s natural bitterness.
- Unsweetened cocoa powder: This is the heart of the chocolate flavor, so choose a high-quality brand for best results.
- Cornstarch: Acts as the thickening agent, ensuring your pudding sets beautifully without being too firm.
- Pinch of salt: Enhances the chocolate flavor and brings all the ingredients into harmony.
- Milk: Creates the creamy base and helps dissolve the dry ingredients smoothly.
- Butter: Adds that silky richness and a slight sheen to the finished pudding.
- Vanilla extract: Brightens the chocolate taste with a hint of warm sweetness.
How to Make Homemade Chocolate Pudding Recipe
Step 1: Combine Dry Ingredients
Start by whisking together the sugar, cocoa powder, cornstarch, and salt in a medium saucepan. This ensures your dry ingredients are evenly mixed from the get-go, which helps prevent lumps and creates a smooth texture.
Step 2: Add Milk Gradually
Slowly whisk in the milk to the saucepan mixture until everything is completely smooth. This gradual addition allows the dry ingredients to absorb the liquid uniformly, setting the stage for that creamy consistency.
Step 3: Cook the Pudding
Place the saucepan on the stove over medium heat and bring the mixture to a boil, whisking constantly. Once boiling, keep whisking for about one minute. This step activates the cornstarch, thickening your pudding perfectly without any lumps.
Step 4: Finish with Butter and Vanilla
Remove the saucepan from the heat and immediately stir in the butter and vanilla extract. This step adds richness and depth of flavor, making the pudding irresistibly smooth and velvety.
Step 5: Chill Your Pudding
Divide the warm pudding into six half-cup serving dishes. To avoid a skin forming on top, cover each pudding’s surface tightly with plastic wrap. Chill in the refrigerator for several hours until the pudding is fully set and beautifully chilled.
How to Serve Homemade Chocolate Pudding Recipe
Garnishes
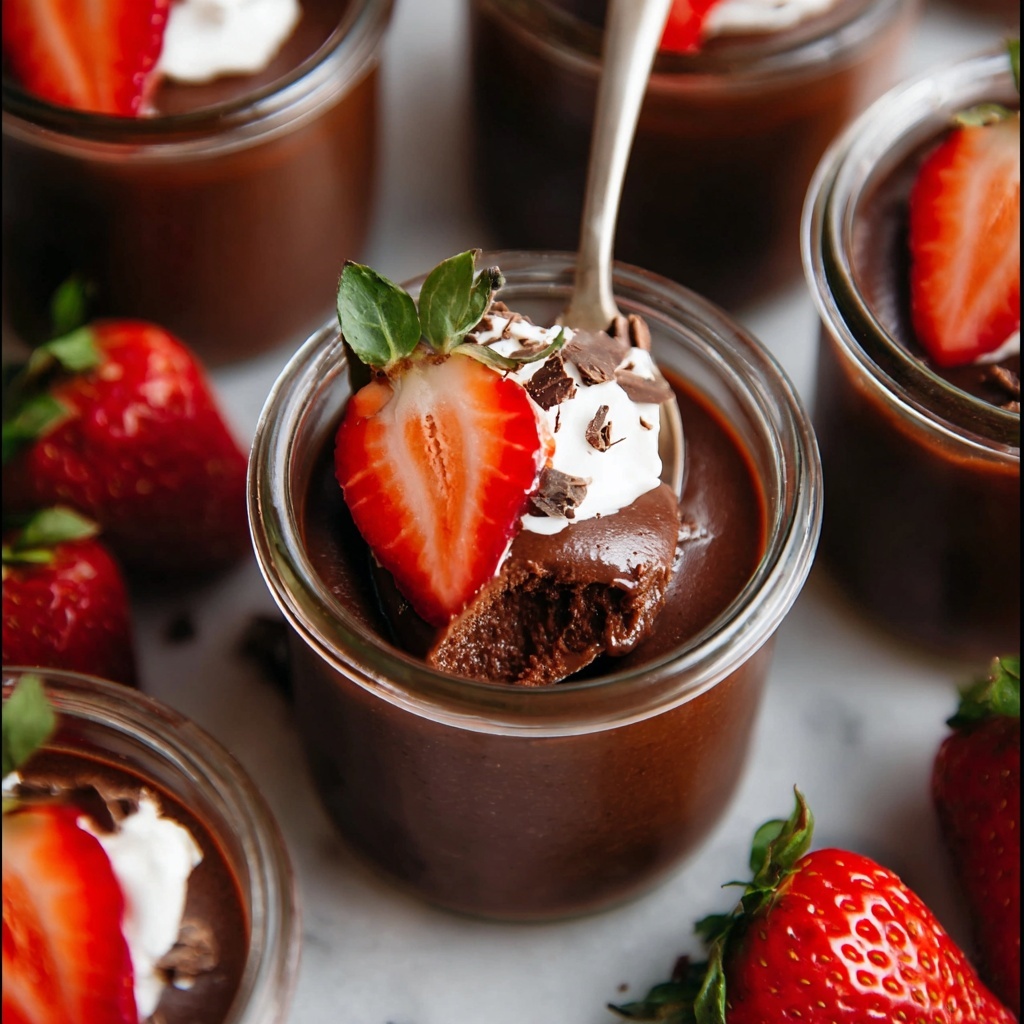
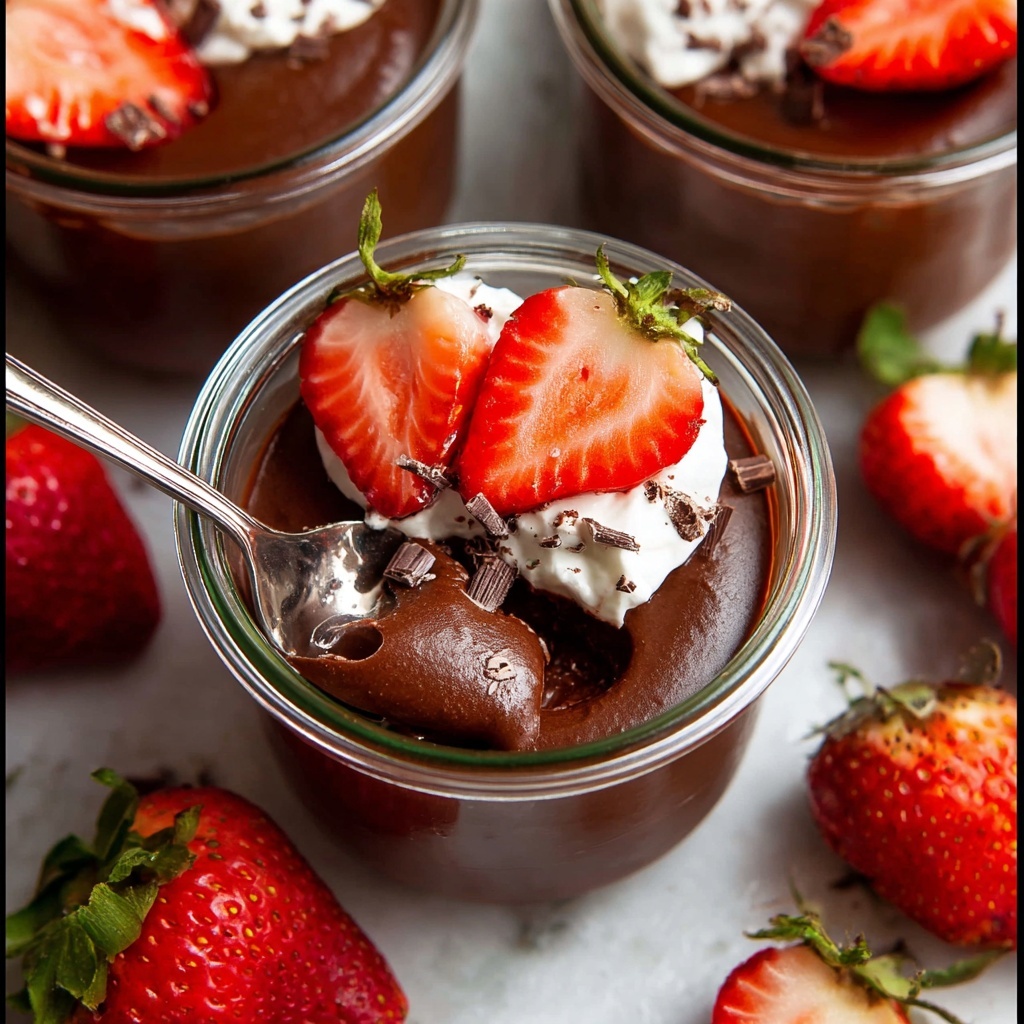
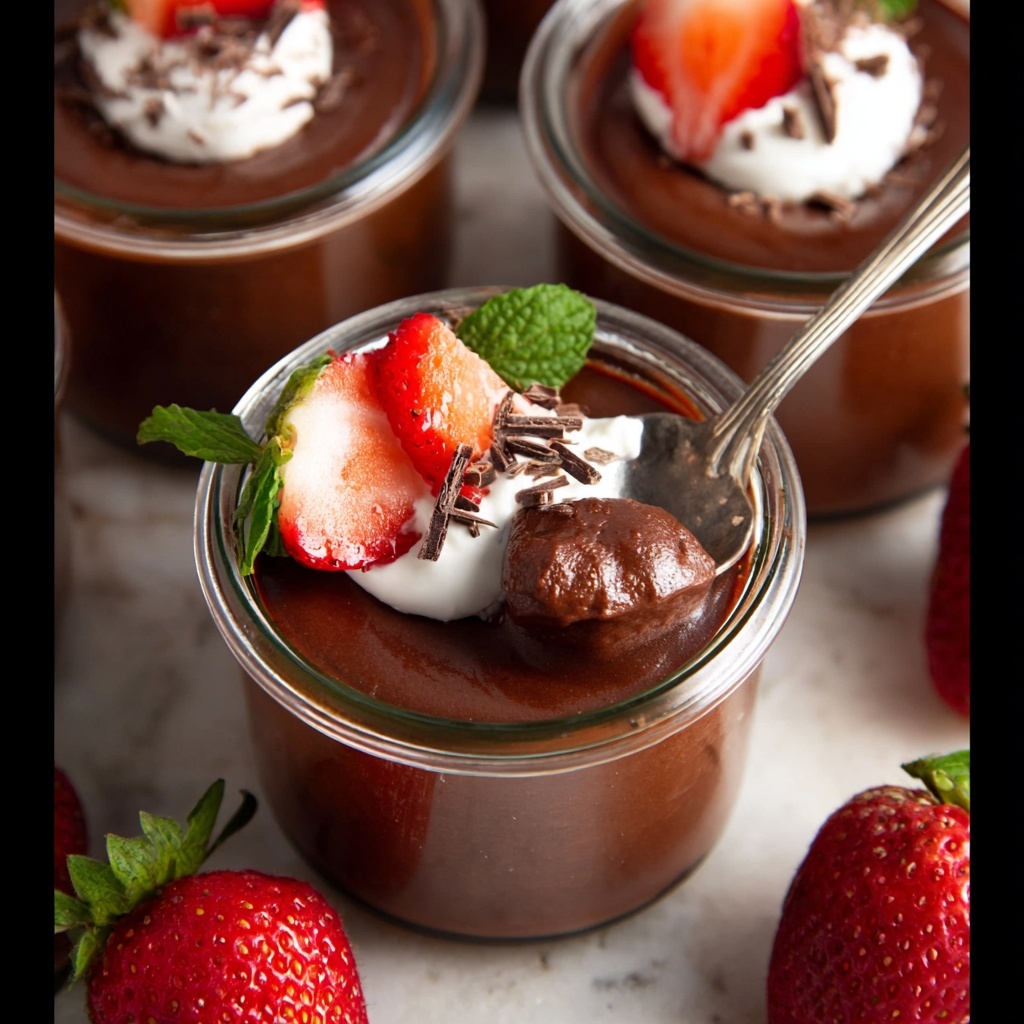
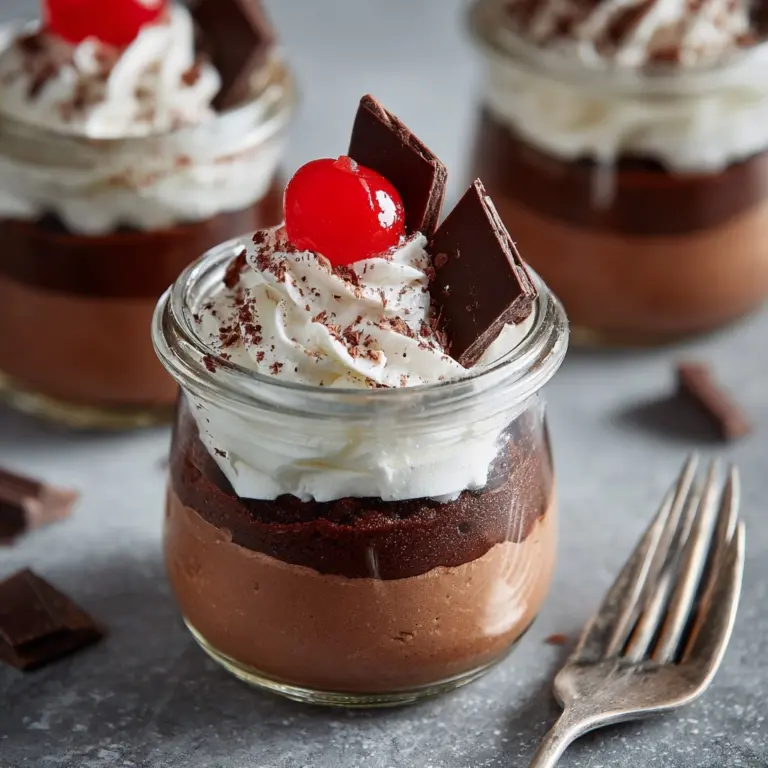
The simplest garnishes can elevate your Homemade Chocolate Pudding Recipe from cozy to gourmet. Fresh whipped cream, a sprinkle of shaved chocolate, or a handful of fresh berries provide contrasting textures and flavors that make every spoonful more exciting.
Side Dishes
Chocolate pudding pairs wonderfully with crisp cookies, like shortbread or biscotti, which add a satisfying crunch. You can also serve it alongside fresh fruit for a lighter balance or drizzle some caramel sauce for an indulgent touch.
Creative Ways to Present
Take your pudding presentation to the next level by layering it in clear glasses with crushed cookies or nuts for a parfait effect. Alternatively, try serving it in baked pastry shells or ramekins with edible flowers for a stunning and unexpected dessert presentation.
Make Ahead and Storage
Storing Leftovers
Homemade Chocolate Pudding Recipe keeps nicely in the refrigerator for up to three days when covered tightly. Storing it properly ensures that it retains its creamy texture and rich flavor without drying out or forming a skin.
Freezing
Though this pudding is best enjoyed fresh or chilled, you can freeze it in airtight containers for up to one month. Keep in mind that freezing may slightly alter the texture, making it a little grainy when thawed, so if you do freeze it, stir well before serving.
Reheating
If you prefer your pudding warm, gently reheat it in a saucepan over low heat, stirring constantly until smooth. Avoid overheating, which can cause the pudding to separate or become grainy. A quick warm serving can be perfect on cooler days.
FAQs
Can I use a different kind of milk for this pudding?
Absolutely! Whole milk gives the creamiest results, but you can use 2% or even non-dairy alternatives like almond or oat milk. Just remember that non-dairy milks may slightly change the texture and flavor.
Is the butter necessary in this recipe?
The butter adds richness and a silky texture, but if you’re avoiding dairy or want a lighter version, you can skip it. Your pudding may be less glossy and slightly less creamy, but it will still taste delightful.
How thick should my pudding be when cooking?
When the pudding comes to a boil and you whisk it for about one minute, it should thicken noticeably but still be somewhat fluid. It will continue to thicken as it cools, so don’t overcook it to prevent it from becoming too stiff.
Can I make this pudding vegan?
Yes, by substituting the milk with a plant-based milk and replacing the butter with a vegan alternative like coconut oil or margarine, you can enjoy a vegan-friendly version of this pudding. Just make sure your cocoa powder is dairy-free as well.
How can I prevent a skin from forming on my pudding?
Press a piece of plastic wrap directly on the surface of the pudding while it chills. This barrier prevents air from drying out the top and keeps your pudding smooth and skin-free.
Final Thoughts
I genuinely hope this Homemade Chocolate Pudding Recipe becomes one of your go-to desserts. It’s easy to whip up, incredibly comforting, and endlessly adaptable to whatever you have on hand or your personal style. Trust me, once you taste this creamy, chocolatey goodness made from scratch, you’ll never want to go back to store-bought pudding again!
Print
Homemade Chocolate Pudding Recipe
- Prep Time: 10 minutes
- Cook Time: 5 minutes
- Total Time: 15 minutes
- Yield: 6 servings
- Category: Dessert
- Method: Stovetop
- Cuisine: American
Description
This homemade chocolate pudding recipe is a quick and easy dessert that’s rich, creamy, and intensely chocolatey. Made from scratch with simple pantry ingredients like cocoa powder, sugar, and milk, it requires only a few minutes of prep and cook time. Perfect for a comforting treat, this pudding is smooth and luscious, setting beautifully after chilling. Ideal for serving as a classic dessert at family gatherings or for a cozy night in.
Ingredients
Ingredients
- ¾ cup sugar
- 5 tablespoons unsweetened cocoa powder
- 3 ½ tablespoons cornstarch
- Pinch of salt
- 2 ¾ cups milk
- 2 tablespoons butter
- ½ teaspoon vanilla extract
Instructions
- Mix Dry Ingredients: In a medium saucepan, whisk together the sugar, unsweetened cocoa powder, cornstarch, and pinch of salt until well combined. Gradually whisk in the milk until the mixture is smooth and free of lumps.
- Cook Pudding: Place the saucepan over medium heat on the stove. Continuously whisk the mixture while bringing it to a boil. Once boiling, continue whisking and cook for one minute to thicken the pudding.
- Add Flavor and Butter: Remove the saucepan from heat—the pudding will still be thin at this stage but will thicken as it cools. Stir in the butter and vanilla extract until fully incorporated and smooth.
- Chill and Set: Immediately pour the hot pudding evenly into six serving dishes, each with a ½-cup capacity. To prevent a skin from forming on the surface, cover the pudding directly with heat-safe plastic wrap if desired. Refrigerate for several hours until the pudding is chilled and fully set before serving.
Notes
- Make sure to whisk constantly while cooking to avoid lumps and prevent the pudding from burning on the bottom.
- Cover the pudding surface with plastic wrap to keep a smooth texture and prevent skin formation.
- For a richer flavor, you can substitute whole milk with half-and-half.
- Serve chilled for best texture and taste.
- This pudding can be stored covered in the refrigerator for up to 3 days.


