
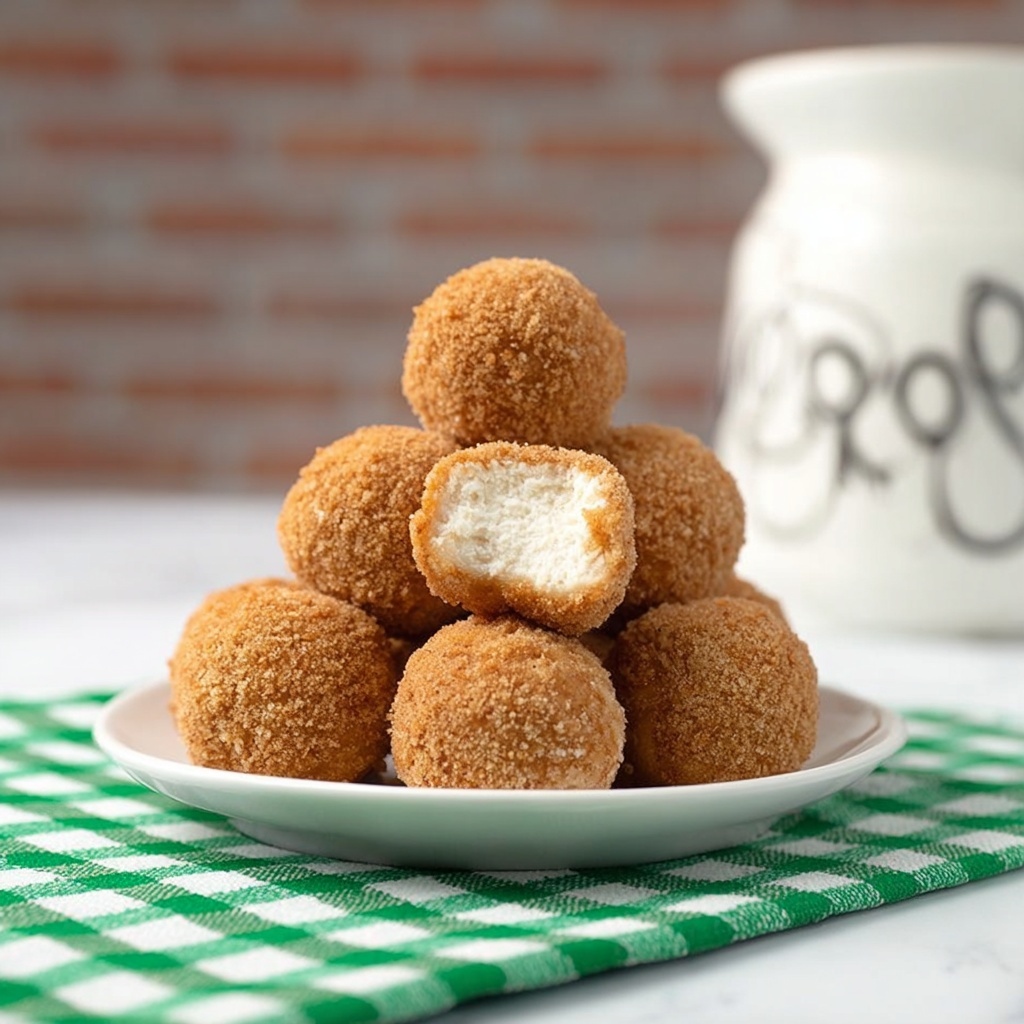
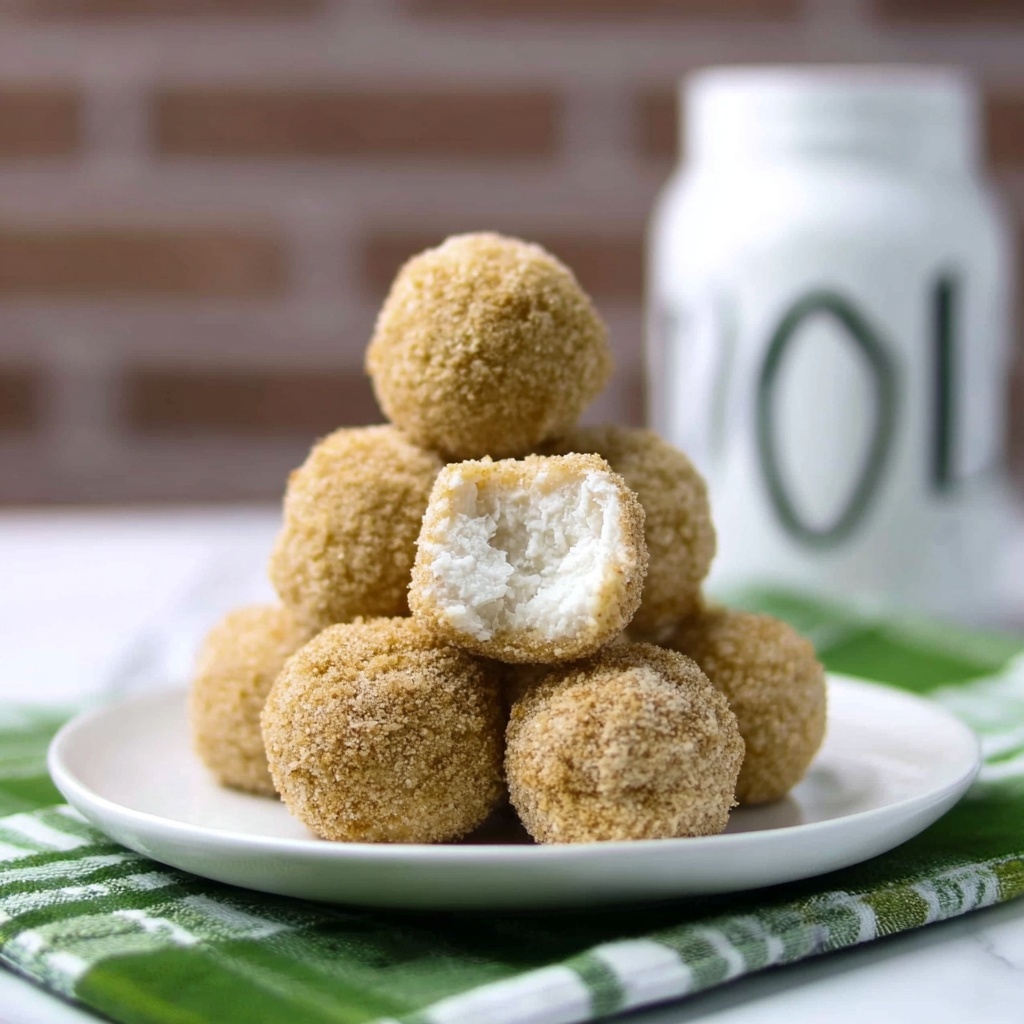
If you’ve ever craved a candy that’s as charming as it is delicious, this Irish Potato Candy Recipe is about to become your new favorite treat. Despite its misleading name, these little confections don’t contain a hint of potato; instead, they masterfully combine sweet, creamy, and cinnamon-spiced flavors to mimic the look and warmth of little potatoes. Each bite melts smoothly with the richness of cream cheese and butter, balanced perfectly by the tropical texture of shredded coconut and the cozy dusting of cinnamon sugar. Whether you’re celebrating a holiday or just need a sweet pick-me-up, this delightful candy is delightfully nostalgic and surprisingly easy to make at home.
Ingredients You’ll Need
This Irish Potato Candy Recipe calls for simple pantry staples and a few fresh ingredients that work harmoniously to create the perfect blend of flavors and texture. Each ingredient plays an essential role from the creamy base to the sweet and spiced finish, making the process as enjoyable as the result.
- 4 oz cream cheese (softened): Adds a rich and creamy base that gives the candy its smooth texture.
- ¼ cup unsalted butter (softened): Brings silky richness and helps bind the ingredients perfectly.
- 4 cups powdered sugar: Naturally sweetens the candy while thickening the mix for easy shaping.
- 2 ½ cups shredded coconut: Adds a subtle chewiness and tropical flavor, imitating potato skin.
- 1 tsp pure vanilla extract: Enhances flavor with a fragrant sweetness that ties everything together.
- 1 tbsp ground cinnamon: Provides that warm, spicy kick essential for the classic potato candy flavor.
- ½ cup light brown sugar: Used for coating, it creates a sweet, slightly caramelized crust with cinnamon warmth.
How to Make Irish Potato Candy Recipe
Step 1: Cream the Butter and Cream Cheese
Start by softening your cream cheese and butter so they mix smoothly. Using a hand mixer, blend the two until they’re combined into a luscious, creamy base with no lumps. This smooth foundation is what gives the candy its signature melt-in-your-mouth texture.
Step 2: Add the Vanilla Extract
Next, beat in the vanilla extract. This simple addition brings warmth and subtle sweetness that elevates the entire flavor profile, making your Irish Potato Candy Recipe stand out.
Step 3: Gradually Incorporate the Powdered Sugar
Slowly add the powdered sugar, mixing thoroughly after each addition. This ensures your mixture thickens appropriately, making it easier to shape and handle, while also delivering the right level of sweetness.
Step 4: Fold in the Shredded Coconut
With a rubber spatula, carefully fold in the shredded coconut. The coconut not only adds texture, giving that slight chew akin to potato skin but also complements the creamy sweetness with a tropical note.
Step 5: Chill the Mixture
Cover the bowl with foil and place it in the refrigerator for about an hour. Chilling firms up the mixture so it becomes easier to roll into perfectly shaped candy balls.
Step 6: Prepare Your Work Surface
Line a cookie sheet with parchment paper. This will prevent your candy balls from sticking once they’re rolled and coated.
Step 7: Shape into Balls
Using a tablespoon scoop, portion out the chilled mixture and roll each scoop into a smooth ball between your palms. The size should be bite-sized, mimicking miniature potatoes.
Step 8: Mix the Cinnamon Sugar Coating
In a medium bowl, whisk together the light brown sugar and ground cinnamon. This flavorful coating is what transforms these candies into the classic Irish Potato look and taste.
Step 9: Coat Each Candy Ball
Roll each dough ball in the brown sugar and cinnamon mixture until thoroughly coated. This step gives the candy its signature rough, potato-like appearance and adds that irresistible sweet-spicy crunch.
Step 10: Arrange and Enjoy
Place the coated candy balls onto your prepared parchment-lined sheet or serving tray, spacing them slightly apart. Now, all that’s left is to dig in and savor these charming treats!
How to Serve Irish Potato Candy Recipe
Garnishes
To give these candies an extra touch of charm, consider sprinkling a pinch of additional ground cinnamon on top or rolling a few in finely chopped nuts for added texture. These small touches can make your Irish Potato Candy Recipe presentation feel even more festive and inviting.
Side Dishes
Pair these candies with a warm cup of coffee, tea, or even a glass of Irish cream liqueur for a comforting, indulgent dessert experience. Their sweetness and spice make them a perfect match for any beverage that benefits from a little extra warmth.
Creative Ways to Present
Serve your Irish Potato Candy in a rustic wooden bowl or on a plate lined with green wax paper to play up the Irish theme. You can also arrange them in mini paper liners or basket-style containers for gifting or party favors—it adds a delightful homemade touch that friends and family will adore.
Make Ahead and Storage
Storing Leftovers
Leftover Irish Potato Candy should be stored in an airtight container and kept in the refrigerator. This helps maintain the candy’s texture, keeping the cream cheese and butter mixture fresh and firm.
Freezing
You can freeze the candy balls by placing them on a parchment-lined tray first to freeze individually, then transferring them to a sealed container. When frozen properly, they can last up to a month without compromising taste or texture.
Reheating
Since these candies are best enjoyed chilled or at room temperature, reheating is not recommended. Simply allow frozen candies to thaw in the refrigerator for a few hours before serving to bring back their creamy goodness.
FAQs
Why is it called Irish Potato Candy if there are no potatoes?
The name comes from the candy’s appearance rather than its ingredients. The brown sugar and cinnamon coating resembles the skin of a small potato, which makes it a playful and charming St. Patrick’s Day treat.
Can I substitute the cream cheese with something else?
Cream cheese is key to achieving the candy’s signature creamy texture, but for a dairy-free version, you could try using a vegan cream cheese alternative. Keep in mind the flavor and texture may vary slightly.
How long does Irish Potato Candy last?
When properly stored in the refrigerator, these candies can last for up to two weeks, though they taste best when enjoyed fresh within the first several days.
Is shredded coconut essential to the recipe?
Yes, the shredded coconut adds both texture and subtle flavor that helps mimic the potato-like feel of the candy, so it’s an important ingredient for authenticity.
Can I make these candies smaller or larger?
Absolutely! You can roll them into any size you prefer. Just keep in mind that smaller candies will be easier to pop in your mouth, while larger ones offer a more substantial bite and may need more chilling time.
Final Thoughts
I can’t recommend this Irish Potato Candy Recipe enough for anyone looking to create a fun, charming, and absolutely delicious homemade treat. It’s a wonderful conversation starter, a nostalgic nod to St. Patrick’s Day, and a sweet delight that’s surprisingly simple to whip up. Go ahead and give it a try—your taste buds will thank you!
Print
Irish Potato Candy Recipe
- Prep Time: 15 minutes
- Cook Time: 0 minutes
- Total Time: 15 minutes active, plus 1 hour chilling
- Yield: 40 pieces
- Category: Dessert
- Method: No-Cook
- Cuisine: Irish-American
Description
Irish Potato Candy is a delightful no-bake sweet treat that resembles small potatoes. Made with cream cheese, shredded coconut, and coated in a cinnamon-sugar mixture, these candies offer a unique, creamy texture combined with a sugary exterior that is perfect for St. Patrick’s Day or any festive occasion.
Ingredients
Main Ingredients
- 4 oz cream cheese (softened)
- ¼ cup unsalted butter (softened)
- 4 cups powdered sugar
- 2 ½ cups shredded coconut
- 1 tsp pure vanilla extract
Coating
- 1 tbsp ground cinnamon
- ½ cup light brown sugar
Instructions
- Cream Butter and Cream Cheese: Using a hand mixer, cream together the butter and cream cheese until the mixture is smooth and fully combined.
- Add Vanilla Extract: Beat in the pure vanilla extract until it is evenly mixed throughout.
- Mix in Powdered Sugar: Gradually add the powdered sugar while continuously mixing until the dough reaches a consistent texture.
- Fold in Coconut: Gently fold the shredded coconut into the mixture using a rubber spatula, ensuring it is well distributed.
- Chill the Mixture: Cover the mixture with foil and refrigerate for 1 hour to firm it up for easy shaping.
- Prepare Cookie Sheet: Line a cookie sheet with parchment paper to place the shaped candies on.
- Shape the Candies: Using a tablespoon, scoop out portions of the chilled mixture and roll each into a ball using your hands.
- Arrange Balls on Sheet: Place each candy ball onto the prepared cookie sheet, repeating until all mixture is used.
- Make Cinnamon Sugar Coating: In a medium bowl, whisk together the ground cinnamon and light brown sugar to create the coating mixture.
- Coat the Candy Balls: Roll each candy ball in the cinnamon-sugar mixture until evenly coated.
- Place on Serving Tray: Arrange all coated candy balls on a serving tray, ready to be enjoyed.
- Serve and Enjoy: Serve immediately or keep refrigerated for later enjoyment.
Notes
- Ensure the cream cheese and butter are well softened for easier mixing.
- Refrigerating the mixture is key to making it easier to roll into balls.
- For a stronger cinnamon flavor, adjust the amount of cinnamon in the coating to taste.
- Store candies covered in the refrigerator for up to one week.
- These candies do not contain potatoes despite their name—they are named for their shape and color.


