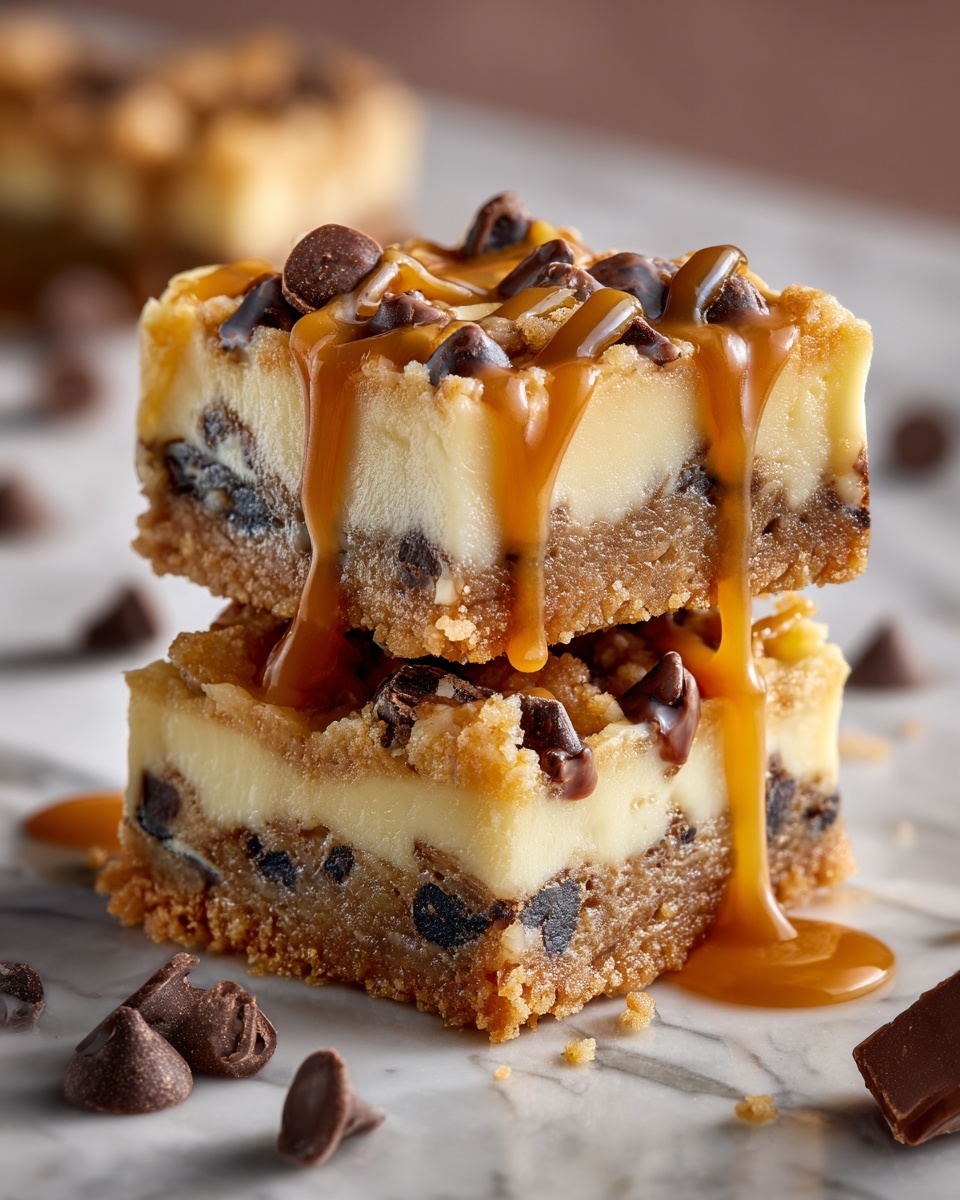
If you love the perfect balance of buttery crunch, rich chocolate, and sweet toffee, then you are going to adore this Toffee Chocolate Dessert Bars Recipe. It’s a crowd-pleasing treat that combines a crispy, buttery crust with layers of melting chocolate chips and irresistible toffee bits all topped off with smooth sweetened condensed milk. These bars have the kind of texture and flavor combination that keeps you reaching for just one more piece. Whether you’re making a batch for a party or a cozy night in, this recipe will quickly become your go-to dessert obsession.
Ingredients You’ll Need
Don’t let the ingredient list fool you; this Toffee Chocolate Dessert Bars Recipe calls for simple, pantry-friendly ingredients that come together for big flavor. Each element contributes to the overall taste and texture, giving you that perfect, homemade dessert experience without the fuss.
- Salted Butter, cold: Cold butter helps create a crumbly, flaky crust that’s full of buttery goodness.
- All-purpose Flour: The base of your crust, providing structure and a tender crumb.
- Granulated Sugar: Adds a touch of sweetness to balance the buttery crust.
- Toffee Bits: These crunchy sweet morsels add texture and a caramel flavor that pairs beautifully with chocolate.
- Chocolate Chips: Melts into gooey pockets of rich, creamy chocolate throughout the bars.
- Sweetened Condensed Milk: Acts like a luscious sauce, binding the chocolate and toffee together with a creamy sweetness.
- Sea Salt (optional): A sprinkle on top enhances every flavor and adds a delightful contrast.
How to Make Toffee Chocolate Dessert Bars Recipe
Step 1: Prepare Your Pan and Preheat the Oven
Start by preheating your oven to 350°F (175°C). Grease or line a 9×13-inch baking pan with parchment paper, making sure to leave some overhang on the sides for easy removal later. This small step helps ensure your bars come out perfectly without sticking, making cleanup a breeze.
Step 2: Make the Crust
Cut the cold salted butter into small cubes and add them to a large mixing bowl with the flour and sugar. Using a pastry blender or two knives, cut the butter into the dry ingredients until you get a crumbly dough—it should hold together when pressed but still have plenty of small lumps. Stir in half a cup of toffee bits, which distributes that signature sweet crunch throughout the crust.
Step 3: Press and Bake the Crust
Press this crumbly dough firmly and evenly into your prepared pan. This ensures a sturdy base that holds all the delicious toppings nicely. Bake the crust for 22 to 25 minutes, or until the edges are a light golden brown. This pre-baking step signals a beautifully crisp texture that contrasts perfectly with the gooey toppings.
Step 4: Add the Chocolate, Toffee, and Sweetened Condensed Milk
Remove the crust from the oven and, while still hot, sprinkle two cups of chocolate chips evenly over the surface. Immediately add one cup of toffee bits on top of the chocolate, then drizzle the entire pan with the sweetened condensed milk. Finish off by sprinkling the remaining half cup of toffee bits over everything. This layering creates that dreamy, melty, sweet-toffee-chocolate masterpiece.
Step 5: Bake Until Golden and Bubbly
Return your pan to the oven and bake for another 15 to 17 minutes. You’re looking for the top to be lightly browned and the edges bubbling — that’s when you know the magic is happening. The sweetened condensed milk will set into a creamy layer that perfectly complements the crunchy crust and melty chocolate.
Step 6: Cool and Optional Finishing Touch
If you like a little flavor contrast, sprinkle a pinch of sea salt on top while the bars are still warm. It intensifies the toffee and chocolate notes like a charm. Allow the bars to cool completely in the pan set on a wire rack before cutting into squares. This cooling step helps the bars firm up so they hold together beautifully when served.
How to Serve Toffee Chocolate Dessert Bars Recipe
Garnishes
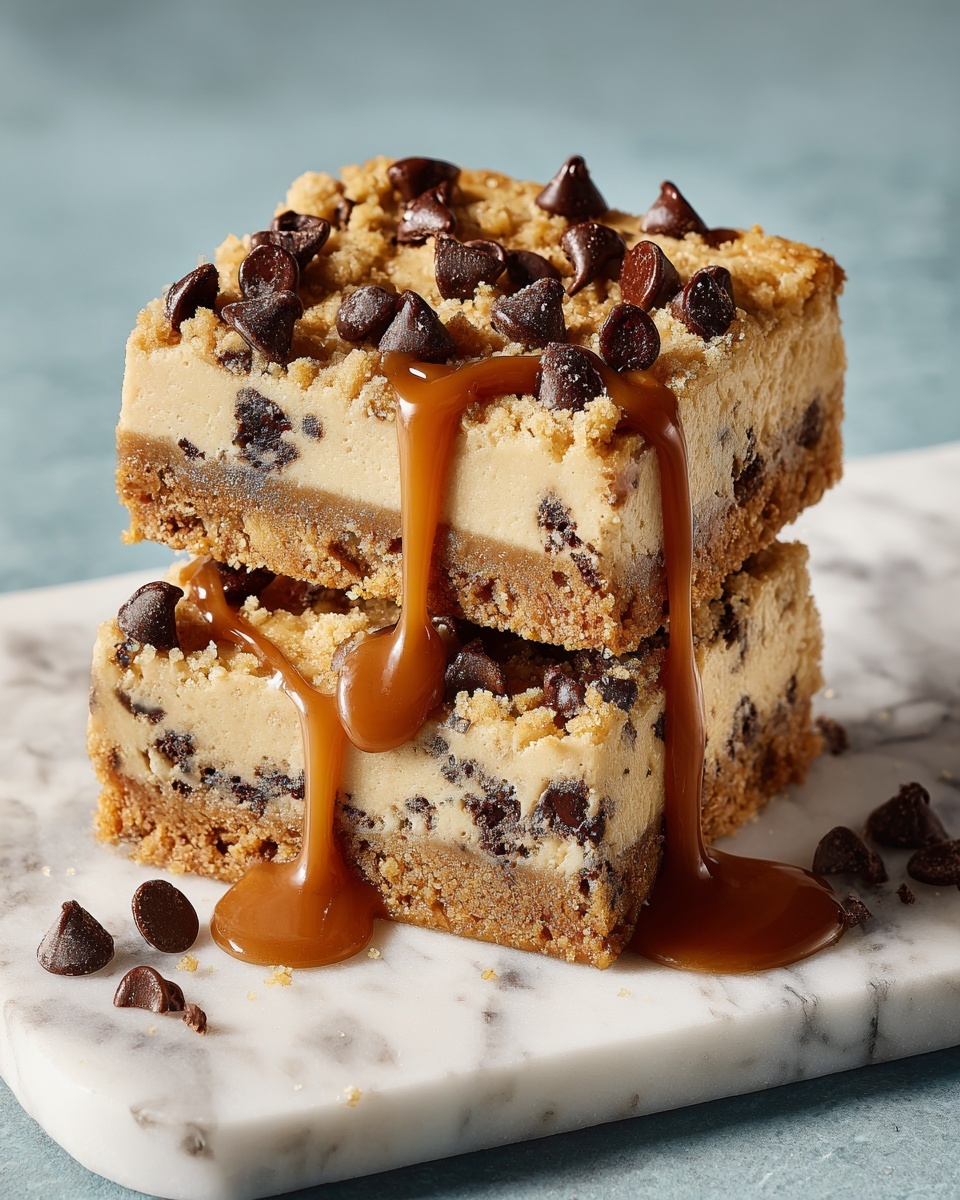
The beauty of these bars is their natural decoration of chocolate and toffee bits. However, a small dusting of powdered sugar or a drizzle of caramel sauce can add an extra touch of elegance and sweetness for special occasions.
Side Dishes
Pair these dessert bars with a scoop of vanilla ice cream for a classic combo, or serve alongside fresh berries to add a refreshing note. A dollop of whipped cream can also brighten up each bite with airy creaminess.
Creative Ways to Present
For a delightful twist, cut the bars into bite-sized squares and serve on a dessert platter garnished with mint leaves and edible flowers. Alternatively, sandwich two bars with a layer of whipped cream or frosting for a decadent party treat that’s sure to impress.
Make Ahead and Storage
Storing Leftovers
Keep any leftover bars stored in an airtight container at room temperature or in the refrigerator for up to 5 days. This helps maintain their toffee crunch and chewy chocolate layers without drying out.
Freezing
You can freeze the bars by wrapping them tightly in plastic wrap and then placing them in a freezer-safe container. Frozen bars will keep well for up to 2 months. When ready to enjoy, thaw at room temperature and then cut as usual.
Reheating
If you want to enjoy a warm Toffee Chocolate Dessert Bar, gently microwave a piece for 10 to 15 seconds or until just warmed through. This revives the gooey chocolate and soft texture, making each bite even more irresistible.
FAQs
Can I use unsalted butter instead of salted butter in this recipe?
Absolutely, just add a small pinch of salt to the dough to compensate. The salted butter enhances the flavor balance, but unsalted will work fine if salted is not available.
What type of chocolate chips works best?
Semi-sweet chocolate chips are ideal because they balance the sweetness of the toffee and condensed milk, but feel free to use milk or dark chocolate chips based on your preference.
Can I make these bars gluten-free?
You can substitute the all-purpose flour with a gluten-free baking blend. Just ensure the blend includes xanthan gum or another binder to help the crust hold together.
Do I really need to cool the bars completely before cutting?
Yes, cooling completely helps the bars set and prevents them from falling apart when sliced. Patience here results in perfect squares every time.
Can I add nuts to the bars?
Definitely! Chopped pecans or walnuts make a wonderful addition for extra crunch and flavor. Just fold them into the dough or sprinkle on top before the second bake.
Final Thoughts
If you want a dessert that feels like a warm hug in every bite, this Toffee Chocolate Dessert Bars Recipe is an absolute must-try. It’s one of those recipes that impresses every time with minimal effort and brings people together over shared love for something sweet and satisfying. Trust me, once you make these bars, they’re going to be a staple in your baking repertoire. So go ahead, bake a batch, and enjoy every dreamy, crunchy, chocolaty moment.
Print
Toffee Chocolate Dessert Bars Recipe
- Prep Time: 15 minutes
- Cook Time: 45 minutes
- Total Time: 1 hour
- Yield: 12 bars
- Category: Dessert
- Method: Baking
- Cuisine: American
Description
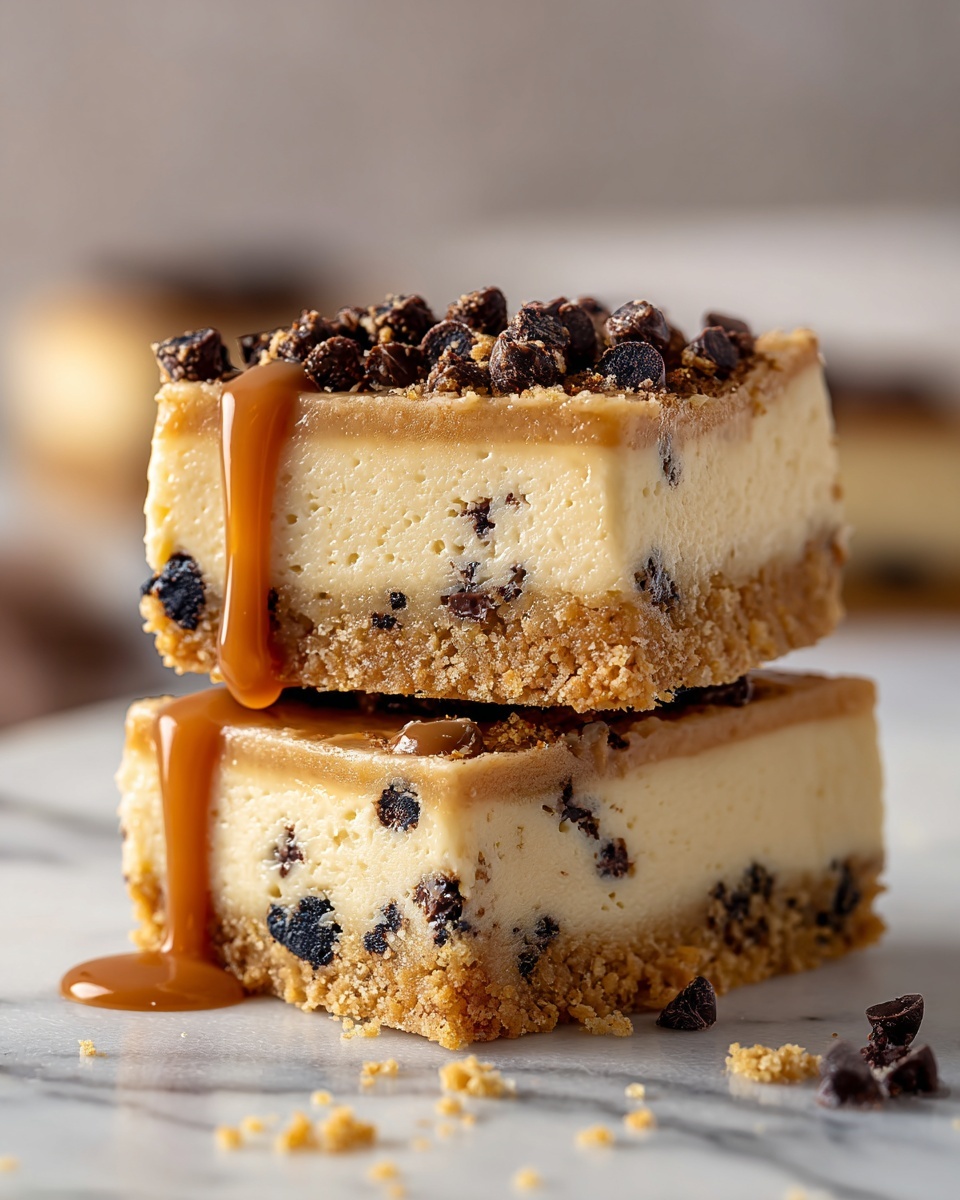
These Toffee Dessert Bars combine a buttery, crumbly crust with rich chocolate chips and plenty of crunchy toffee bits, all topped with sweetened condensed milk for a luscious finish. Perfectly baked until golden and bubbly, these bars are an indulgent treat that’s easy to make and sure to satisfy any sweet tooth.
Ingredients
Crust
- 1 cup salted butter, cold
- 2 cups all-purpose flour
- ¼ cup granulated sugar
- ½ cup toffee bits
Topping
- 2 cups chocolate chips
- 1 ½ cups toffee bits, divided (1 cup plus ½ cup)
- 1 (14 ounce can) sweetened condensed milk
- 1 pinch sea salt, optional
Instructions
- Preheat oven and prepare pan: Preheat the oven to 350°F (175°C). Grease or line a 9×13-inch baking pan with parchment paper, leaving some overhang for easy removal of the bars after baking.
- Make crust dough: Cut the cold salted butter into small cubes and place in a large mixing bowl. Add the all-purpose flour and granulated sugar. Using a pastry blender or two knives, cut the butter into the flour mixture until it forms a crumbly texture. Stir in ½ cup of toffee bits evenly.
- Press dough into pan: Firmly press the crumbly dough mixture into the bottom of the prepared baking pan, creating an even layer that will form the crust.
- Bake crust: Bake the crust in the preheated oven for 22-25 minutes, until it turns a light golden brown and is set.
- Add toppings: Remove the pan from the oven. Immediately sprinkle 2 cups of chocolate chips evenly over the hot crust. Next, sprinkle 1 cup of toffee bits on top, then drizzle the entire surface evenly with the sweetened condensed milk. Finish by sprinkling the remaining ½ cup of toffee bits over the top.
- Bake bars: Return the pan to the oven and bake for an additional 15-17 minutes, or until the top is lightly browned and the edges are bubbly.
- Cool and serve: Optionally sprinkle a pinch of sea salt over the bars while still warm to enhance the flavors. Allow the bars to cool completely in the pan on a wire rack before lifting out with the parchment overhang and cutting into 12 squares.
Notes
- For easier removal, be sure to leave parchment paper overhang on two sides when lining the baking pan.
- You can use milk or semi-sweet chocolate chips depending on your preference.
- Adding sea salt brings out the toffee and chocolate flavors but can be omitted if desired.
- Store the bars in an airtight container at room temperature for up to 3 days or refrigerate for longer freshness.


